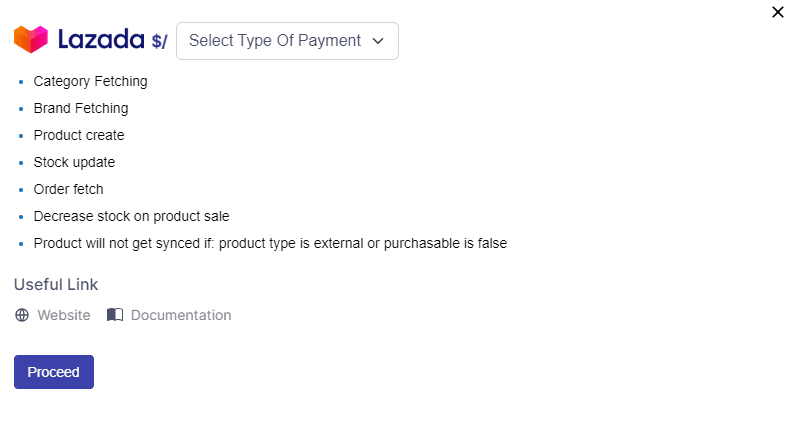
1. To connect Lazada, please move over to the addon integrations module and press “Connect” on Lazada.
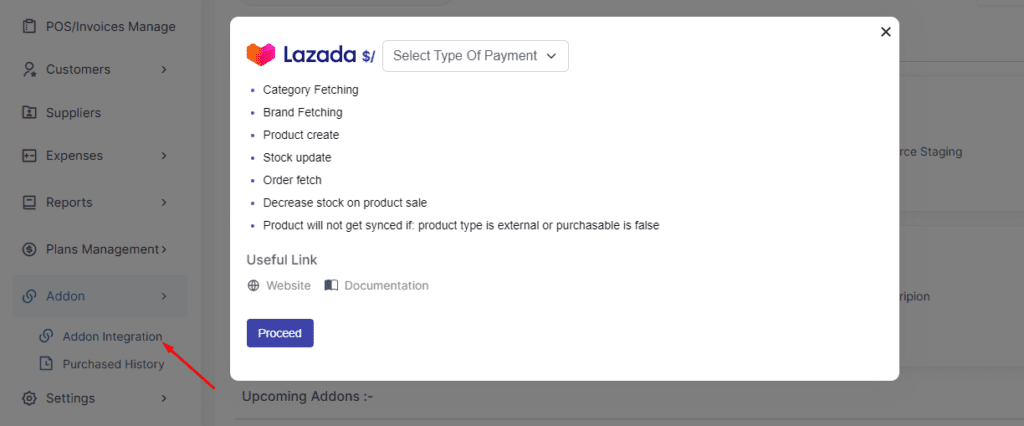
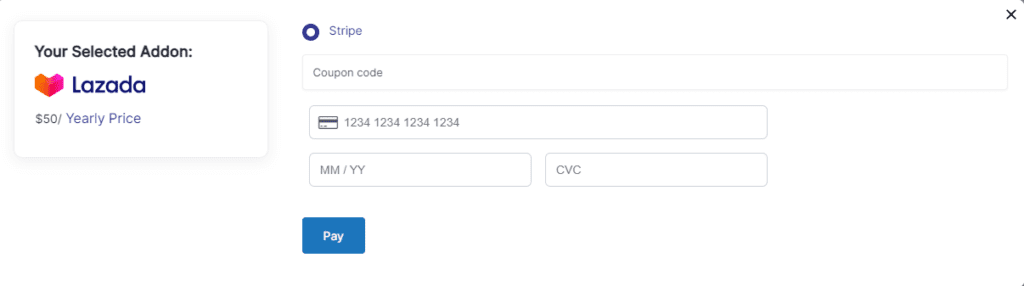
2. Once clicked, you should be prompted to make the payment and subscribe to the addon.
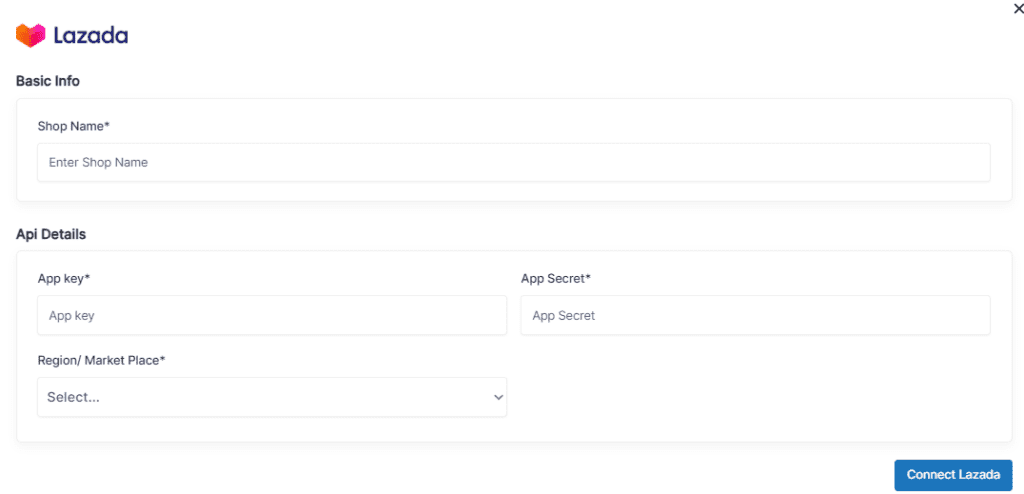
3. After clicking on the “Connect” button, you will be asked to provide your Shop Name, Shop URL, access token.
To get the API Details, Now, go to your Lazada online store
1. First register an open platform account
1.1 Registration link
https://open.lazada.com/apps/user/register?spm=a1zq7z.27197301.login_form.1.1db47c73kmujqv
1.2 Precautions for account registration
1.2.1 Registered Email and Password Conditions
a. The password needs English+number+symbol, and the symbol cannot use “!” “<” 、”>”;
b. The registered mailbox should not have a “+”.
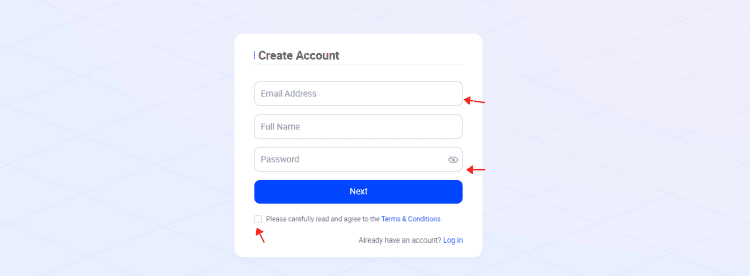
1.2.2 After registration, you need to fill in profile information first, and wait for review after submission
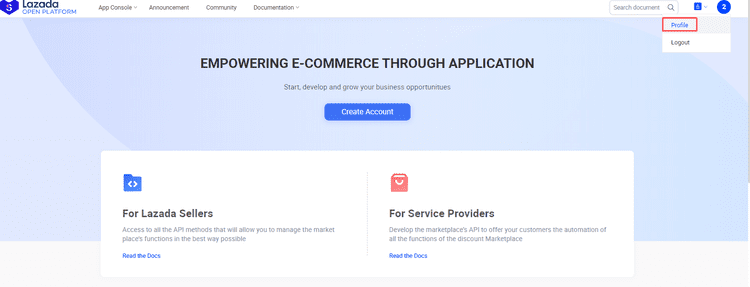
1.2.3 After the profile information is approved, the app can be created
a. There are two steps to create an app.
First, click Apply and wait for the approval before clicking Create App. After the approval, an app in test status will be automatically obtained;
Step 2: Click Create APP.
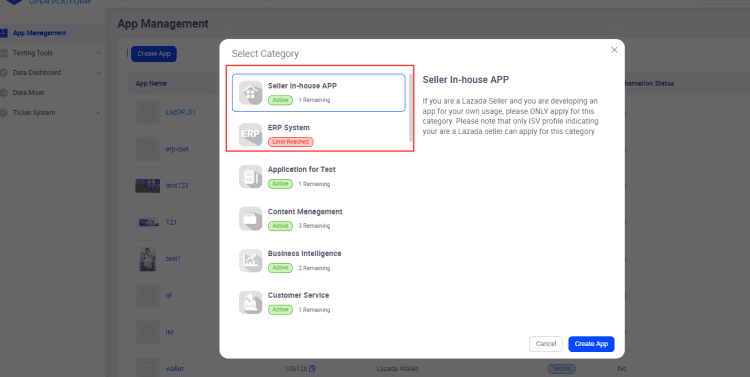
b. It is recommended to select ERP System or Seller in house APP. Their differences are as follows:
The number of authorized sellers is different: the default number of authorized sellers in the ERP system is 300, and can be increased according to the needs of the project;
The number of authorized sellers of the Seller in house APP is 20 by default, and the maximum number is 60;
Different authorization methods:
ERP System: for users who do not need to add white list of sellers;
Seller in house APP: for sellers who need to add white list.
You can find more details below
https://open.lazada.com/apps/user/register?spm=a1zq7z.27197301.login_form.1.1db47c73kmujqv
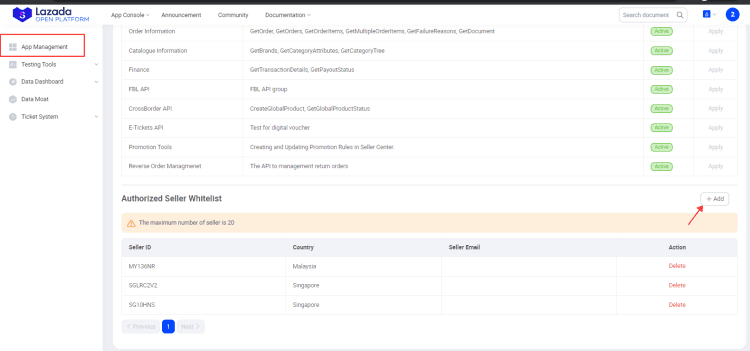
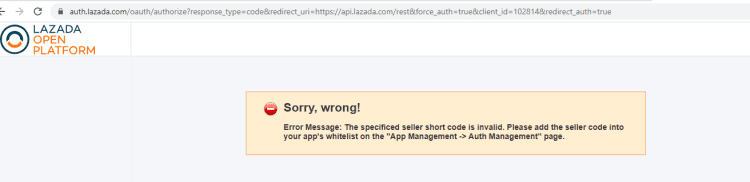
c. If the app of type seller in house is not whitelisted, the following error messages will appear
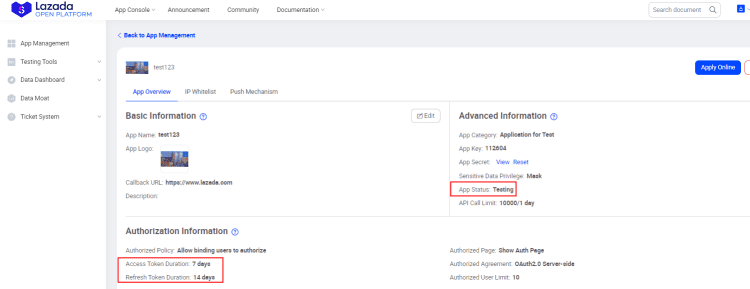
1.2.4 The newly created app is in test status
a. The APP is in the test status: the maximum call amount is ten thousand per days; The validity of the token is 7 days, and the validity of the refresh token is 14 days;
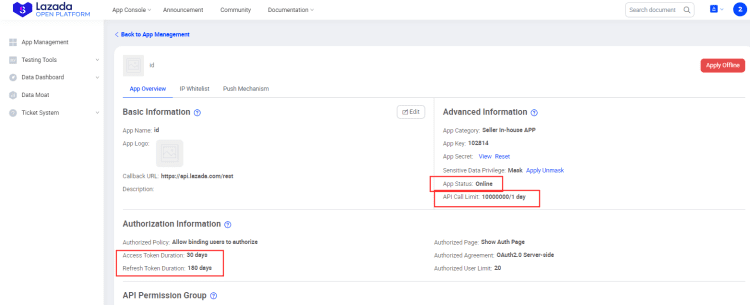
b. Online status: the maximum call volume is 10 million per day; The validity of the token is 30 days, and the validity of the refresh token is 180 days;
If you can ensure that the success rate of app calls is above 85%, you can apply for the app to go online.
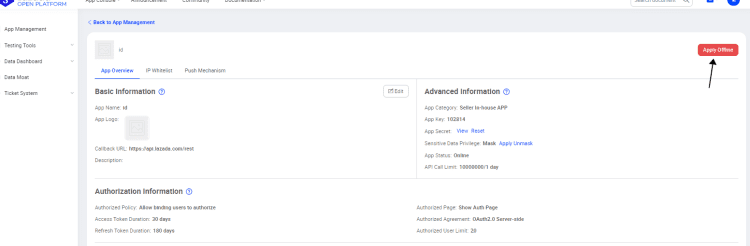
c. Offline: If you want to Offine the app, you can click manage>Apply offine on the app console
d. Delete: If you want to delete an app, you can only delete it in test status.
2. Now head back to your FullStro dashboard and add the required credentials to connect your store and start controlling your store from within FullStro. Once done, please press “Connect Lazada”

3. Now your Lazada store is connected to FullStro and you will be able to upload products, view orders and control your Lazada store from FullStro.