Connecting Steadfast and FullStro’s API is way simpler than you think. It’s just some easy steps that you need to follow.
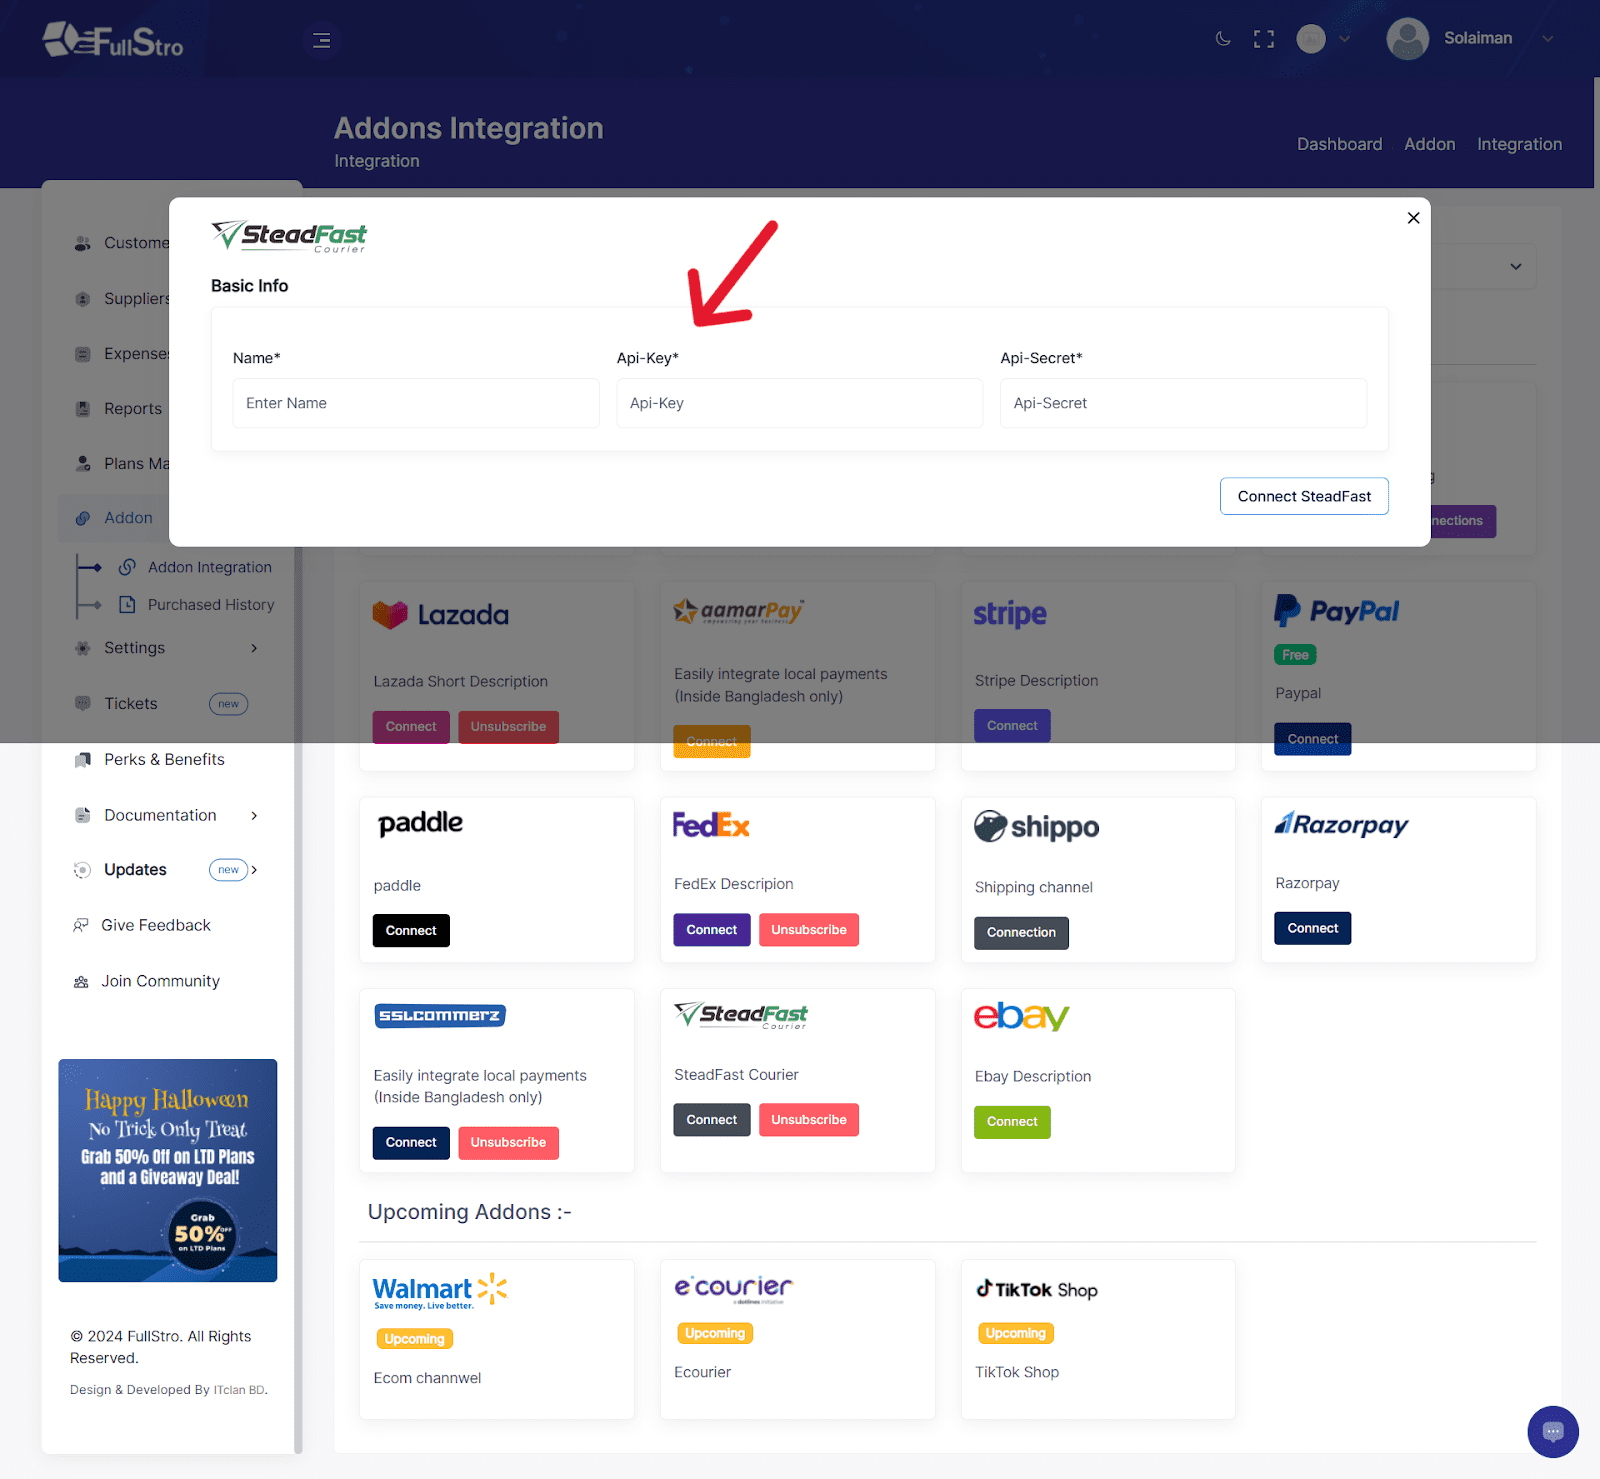
1. Log in to your FullStro account, go to the right panel, and click on Addon > Addon Integration on the left panel. You will see the Addon Integration dashboard showing available integrations. Click on the Steadfast Connect button.

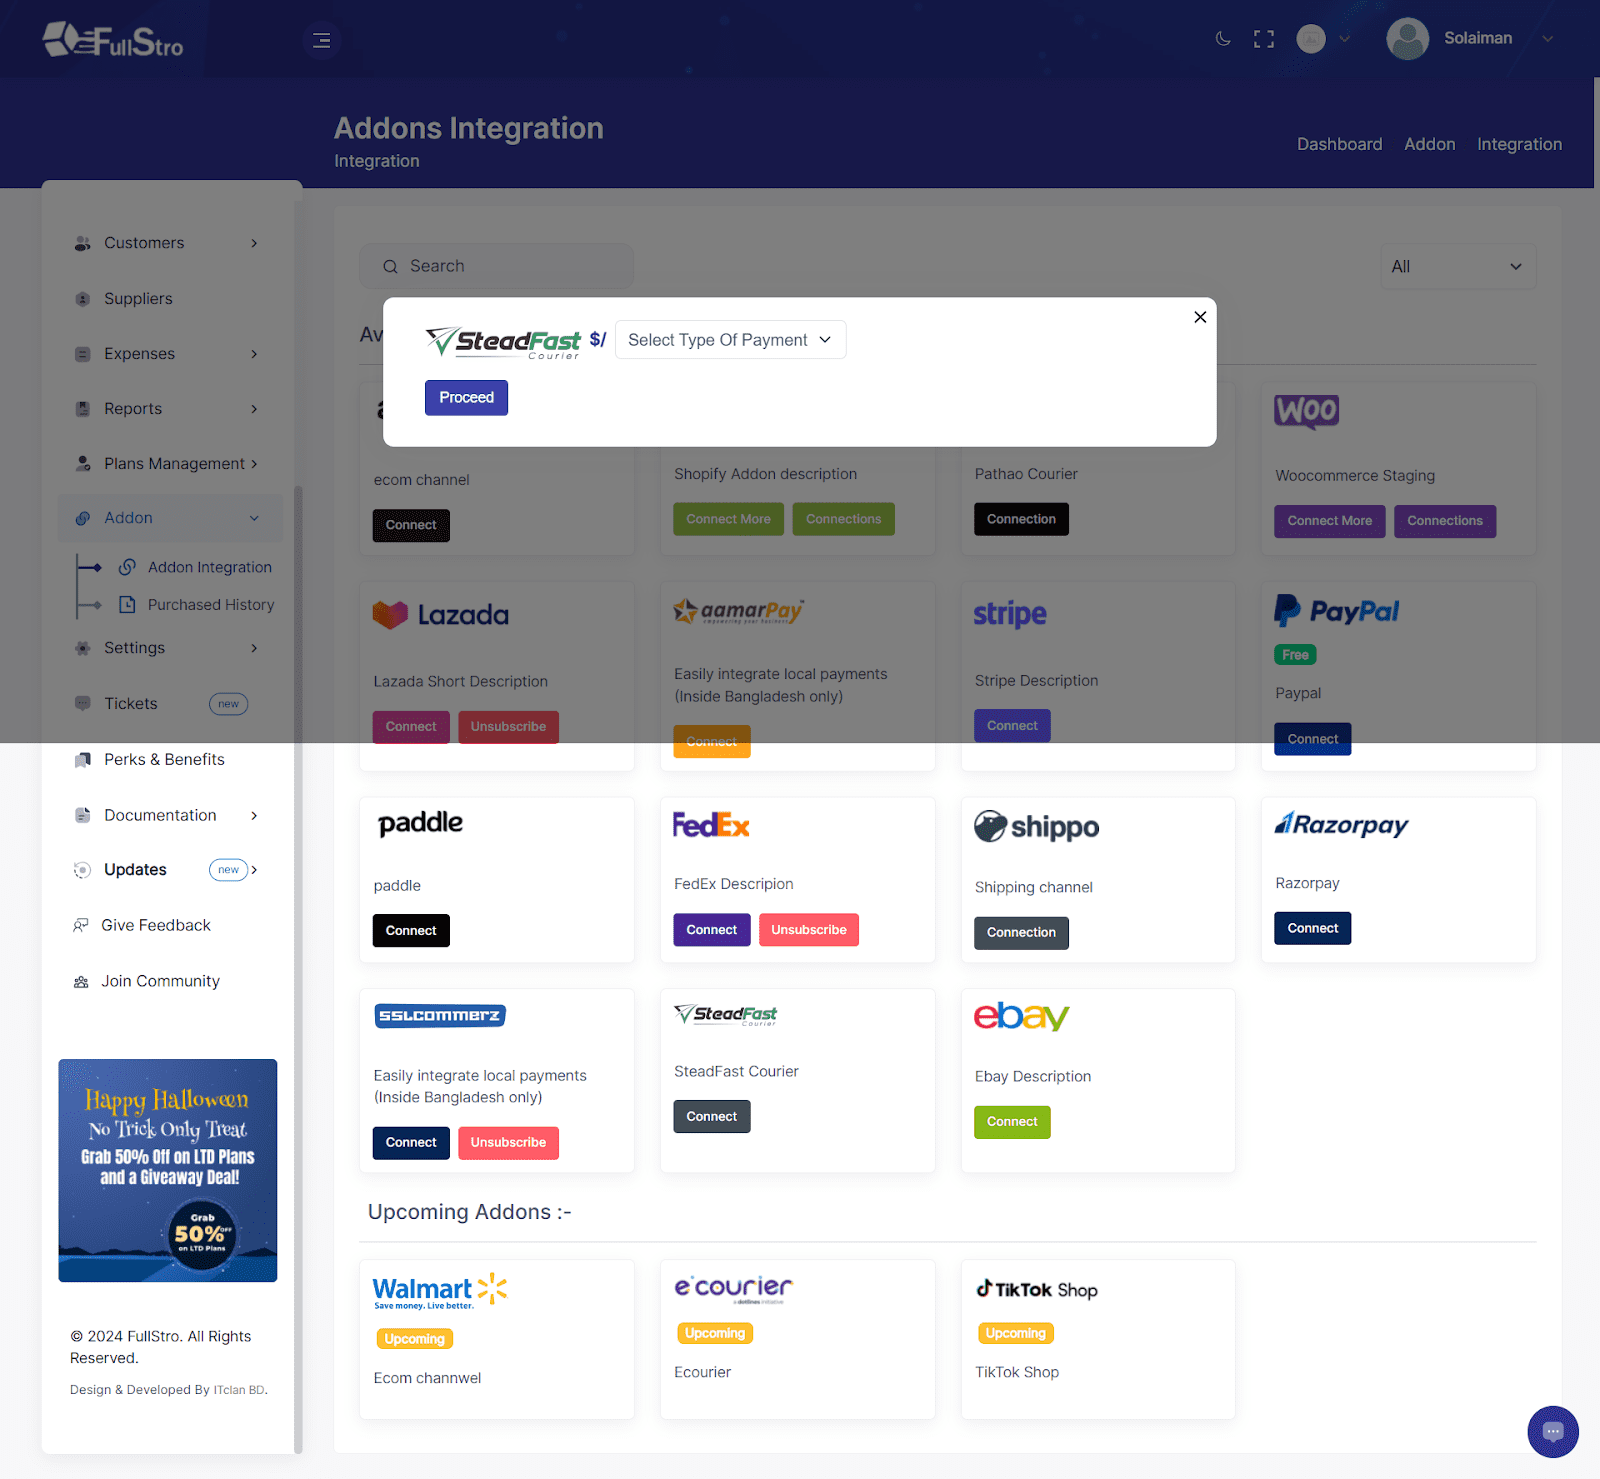
2. Now, a pop-up will appear on the screen asking for your payment details. Select your payment type and press “Proceed.”
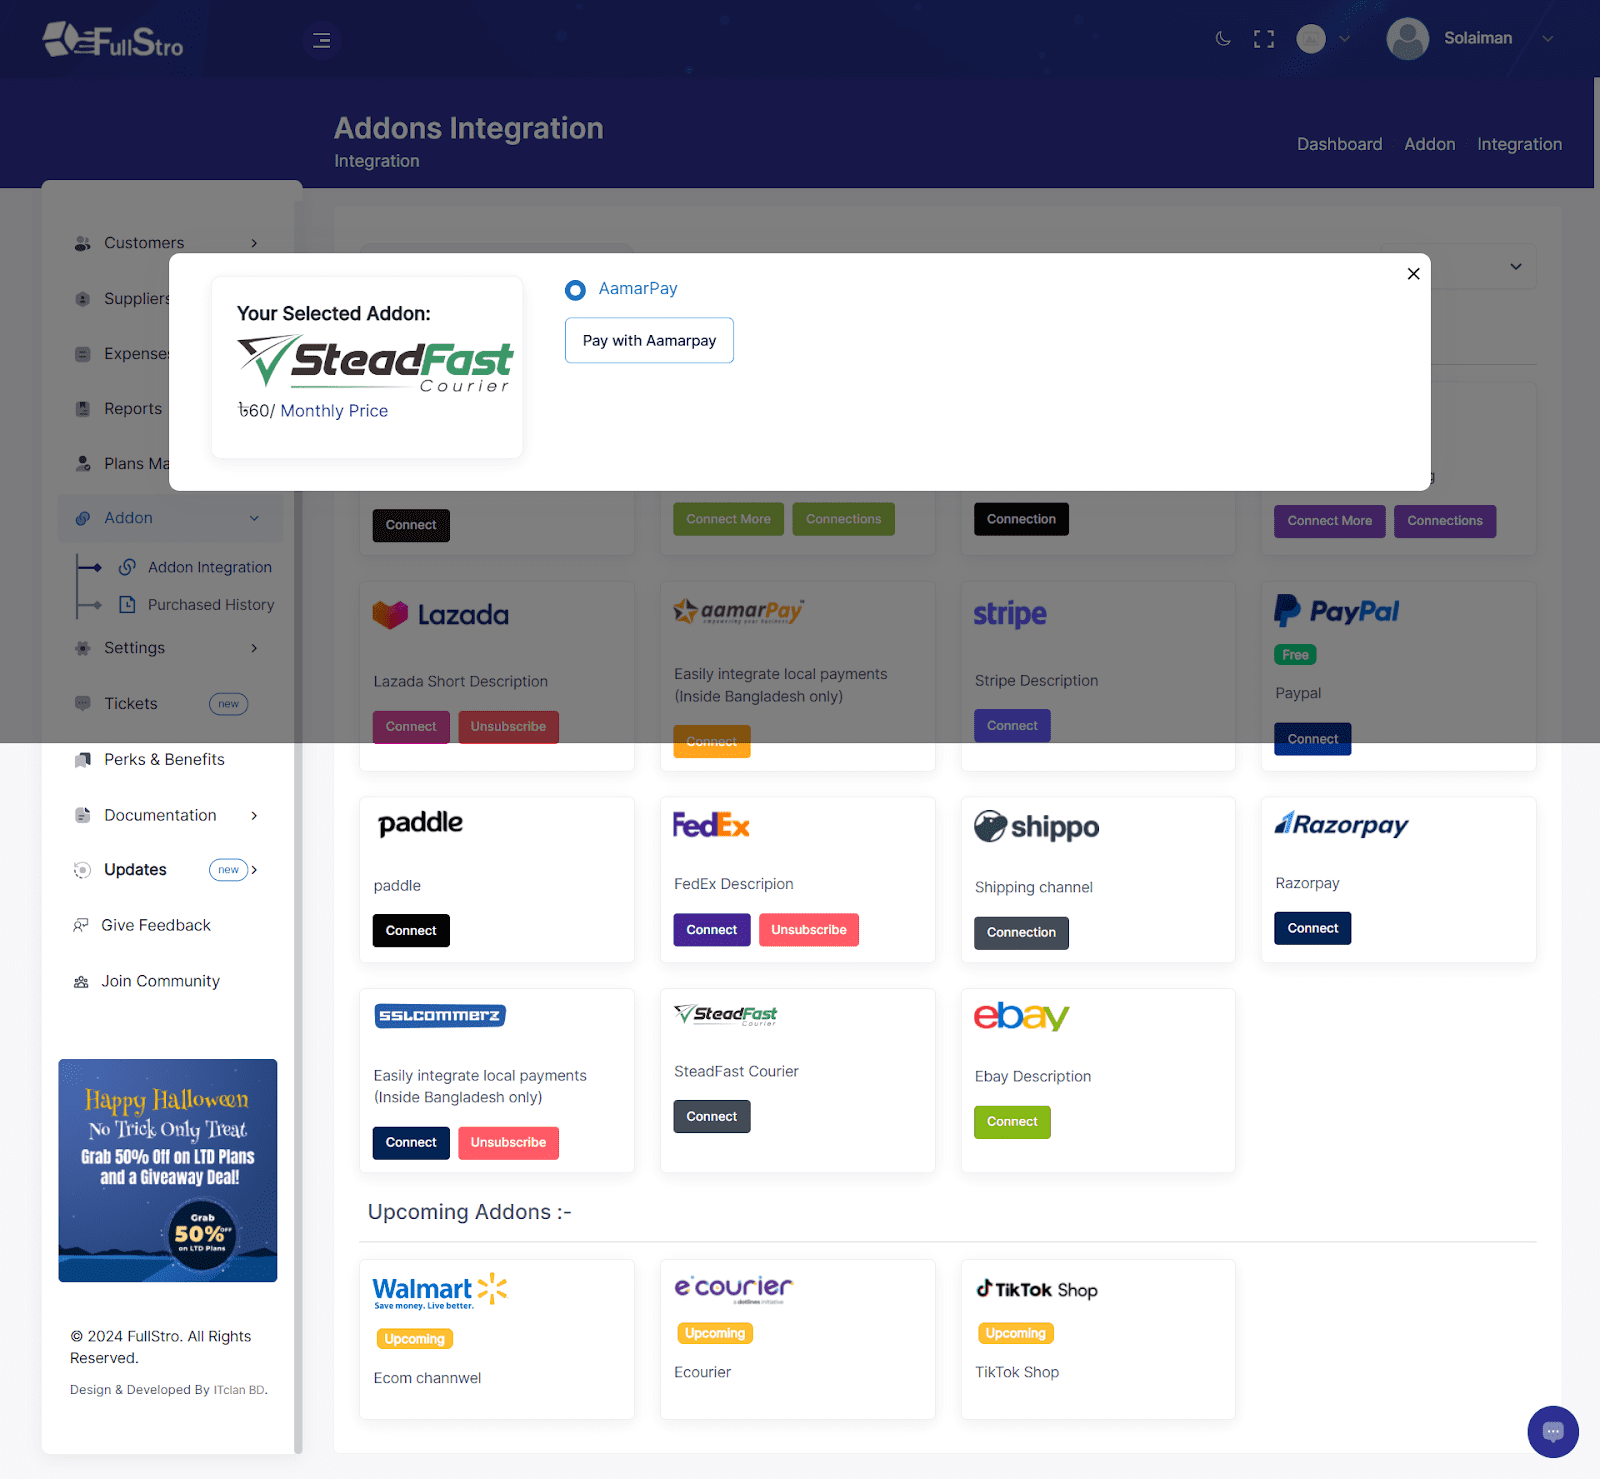
3. If you want to pay with aamarPay, choose it or you can choose another option. Now, click on aamarPay and provide your payment details, then press pay.
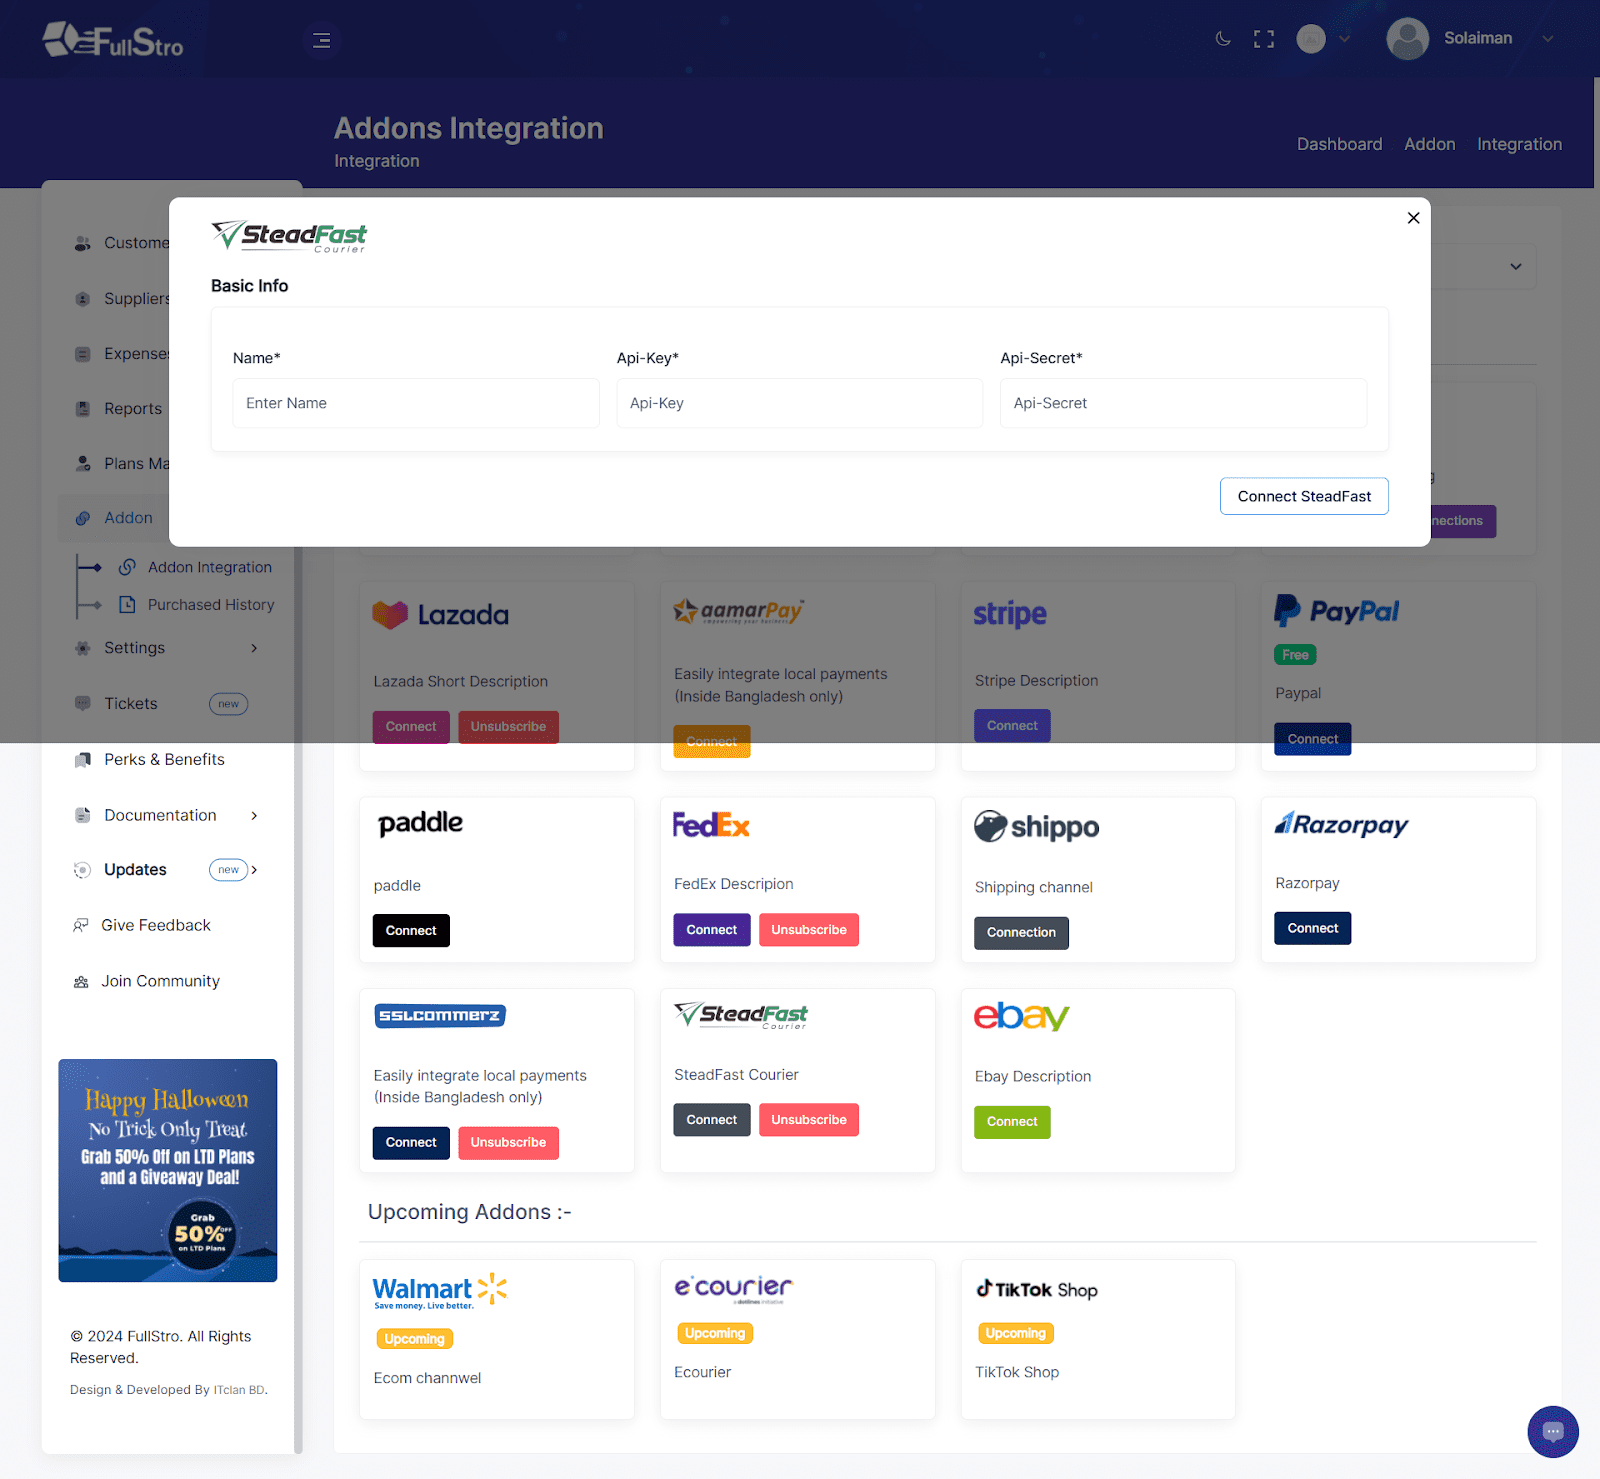
4. Once your payment has been made, it’s time to connect the APIs. To connect, it will ask for the API key and you have to collect the API from your Steadfast account.
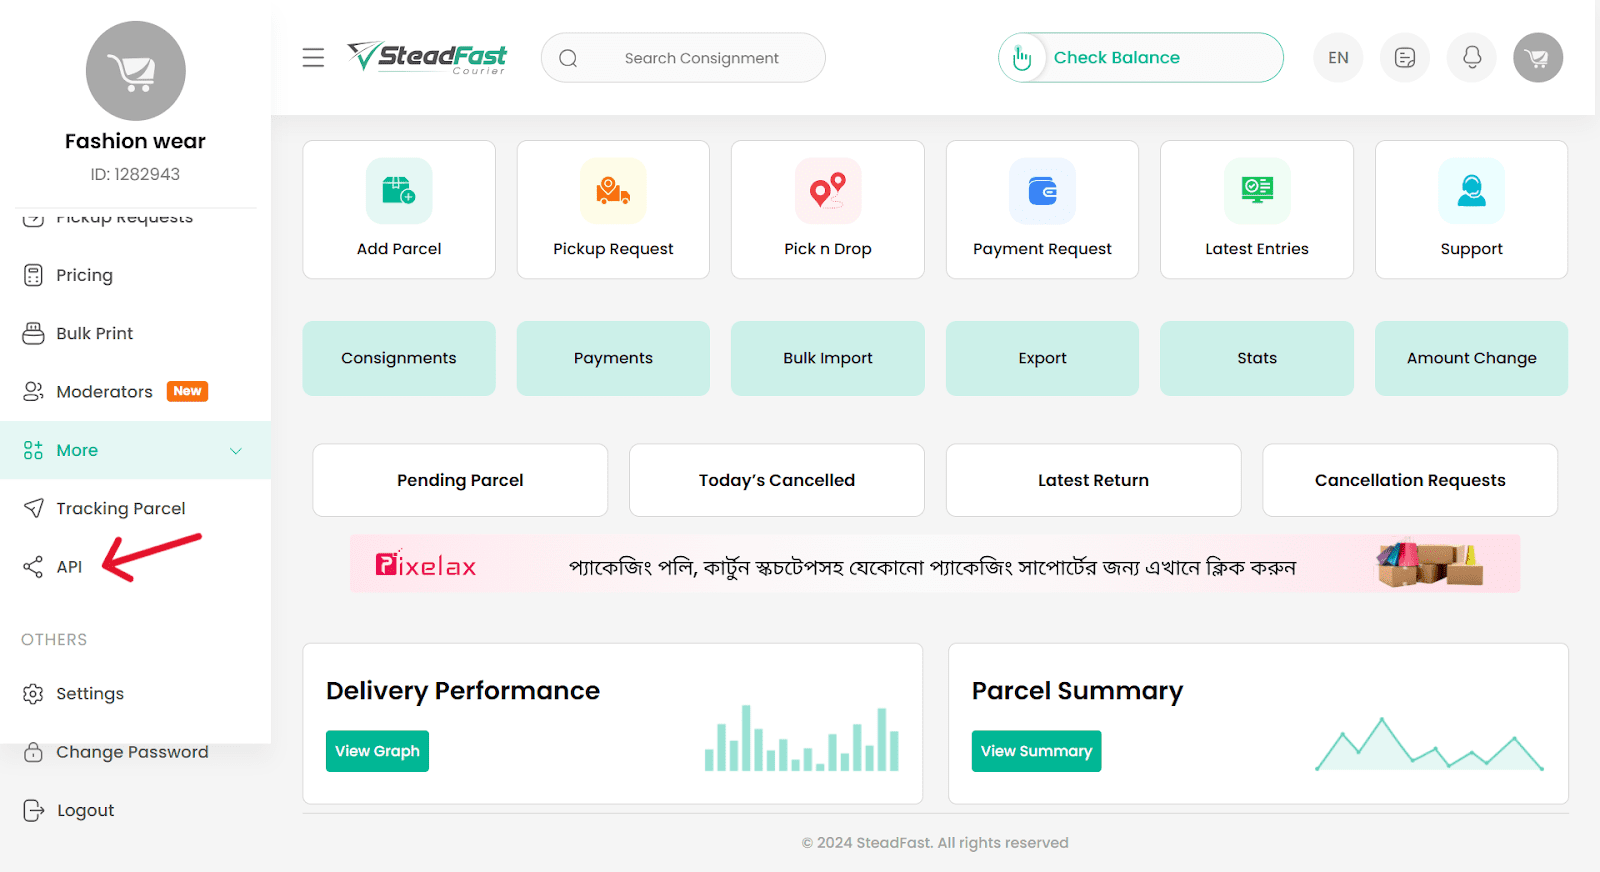
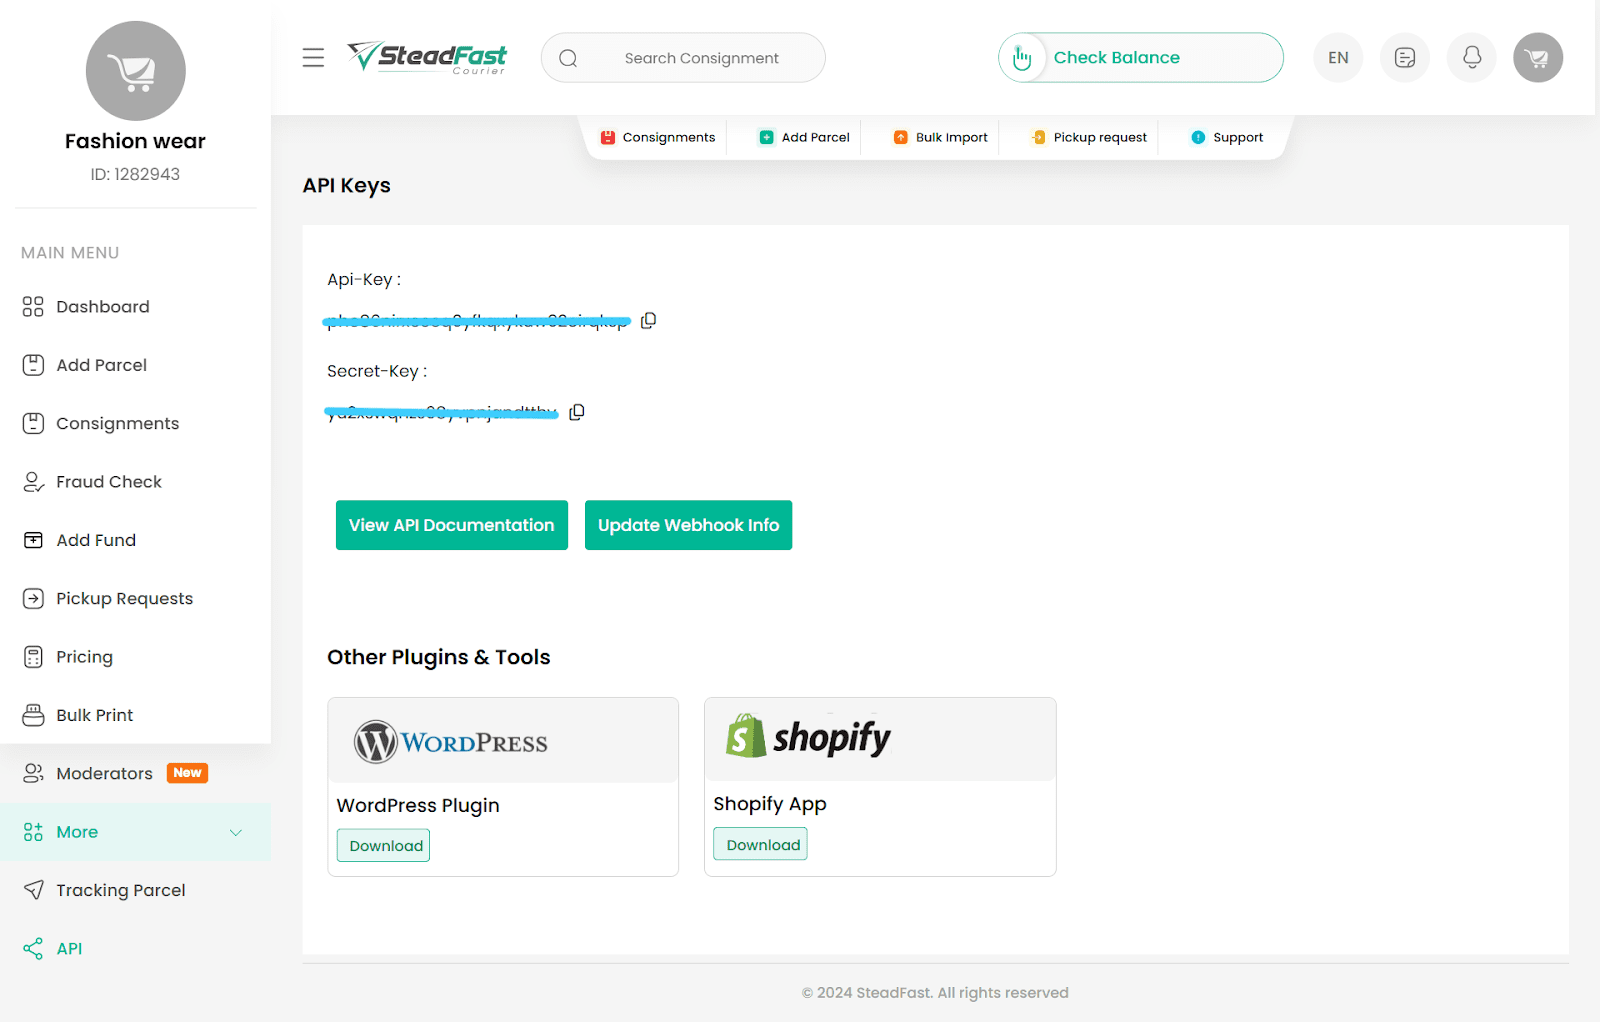
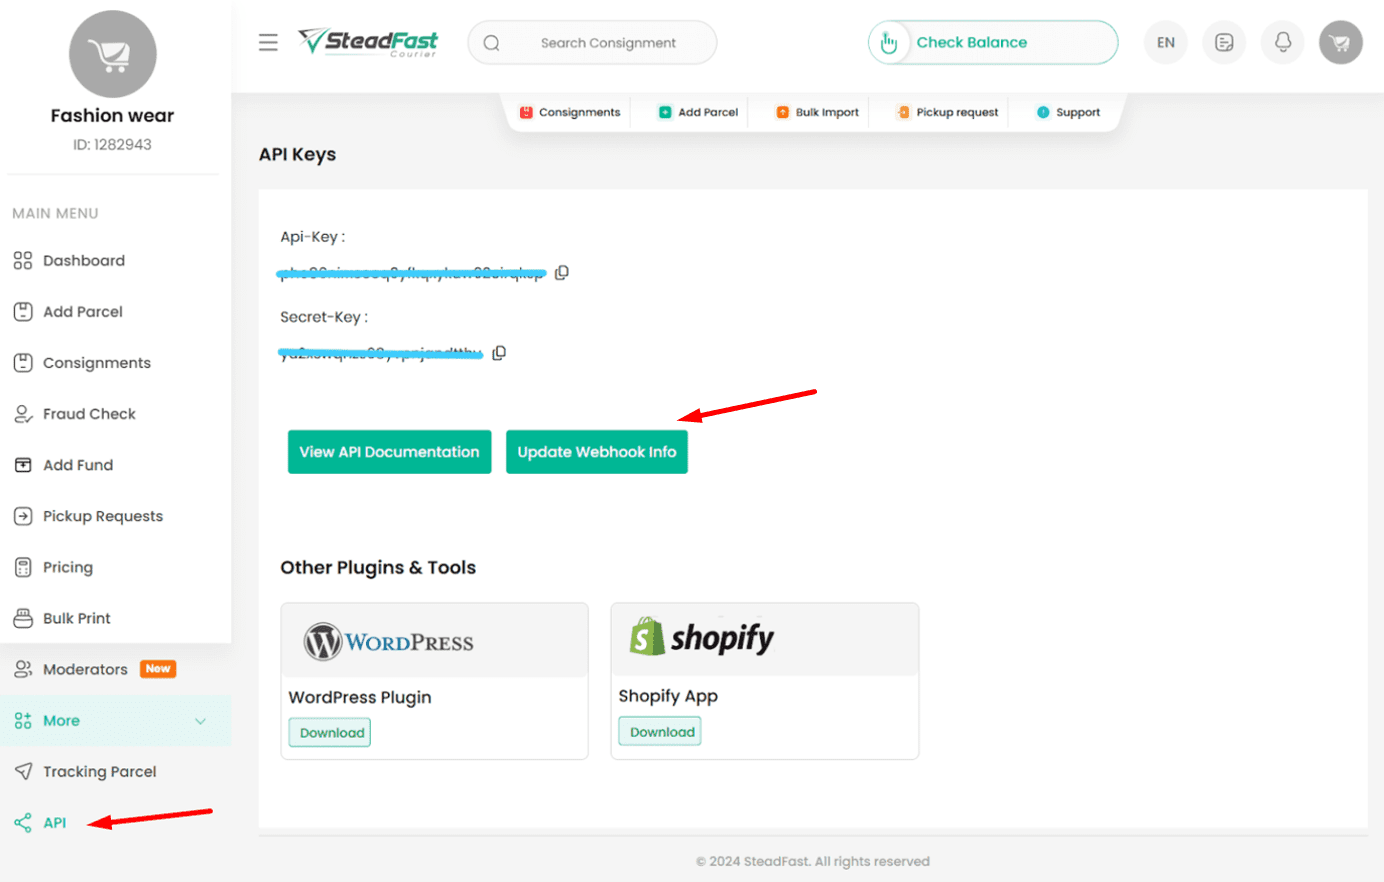
5. Now you log in to your Steadfast account and click on API on the left.
6. On the dashboard, you will see the API key and Secret Key. Copy these and submit them to FullStro’s API key details. Now, press “Connect Steadfast”.
Plus, if you want to connect to Webhook, please click on the “Update Webhook Info”.
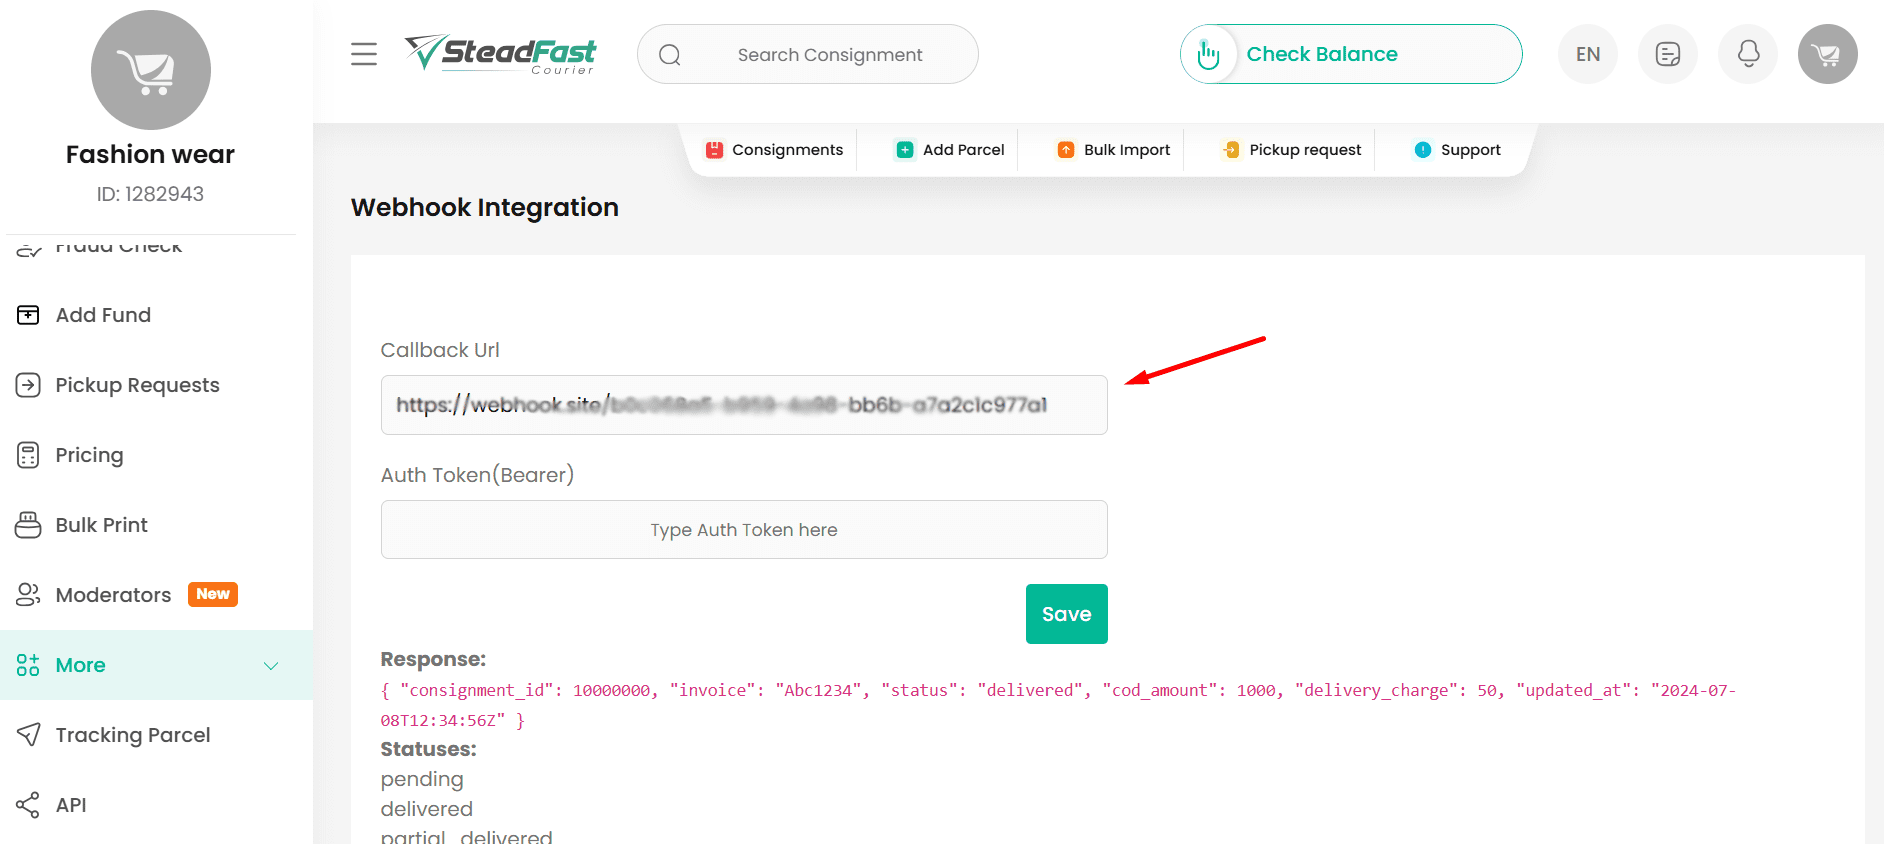
You can choose to integrate webhook for status updates of your individual delivery. You only need to provide us with a Callback URL, where you will receive a POST request containing event details. Your callback URL should be like- https://{{your_subdomain}}.fullstro.com/api/v1/product-service/shipping/steadfast/webhook
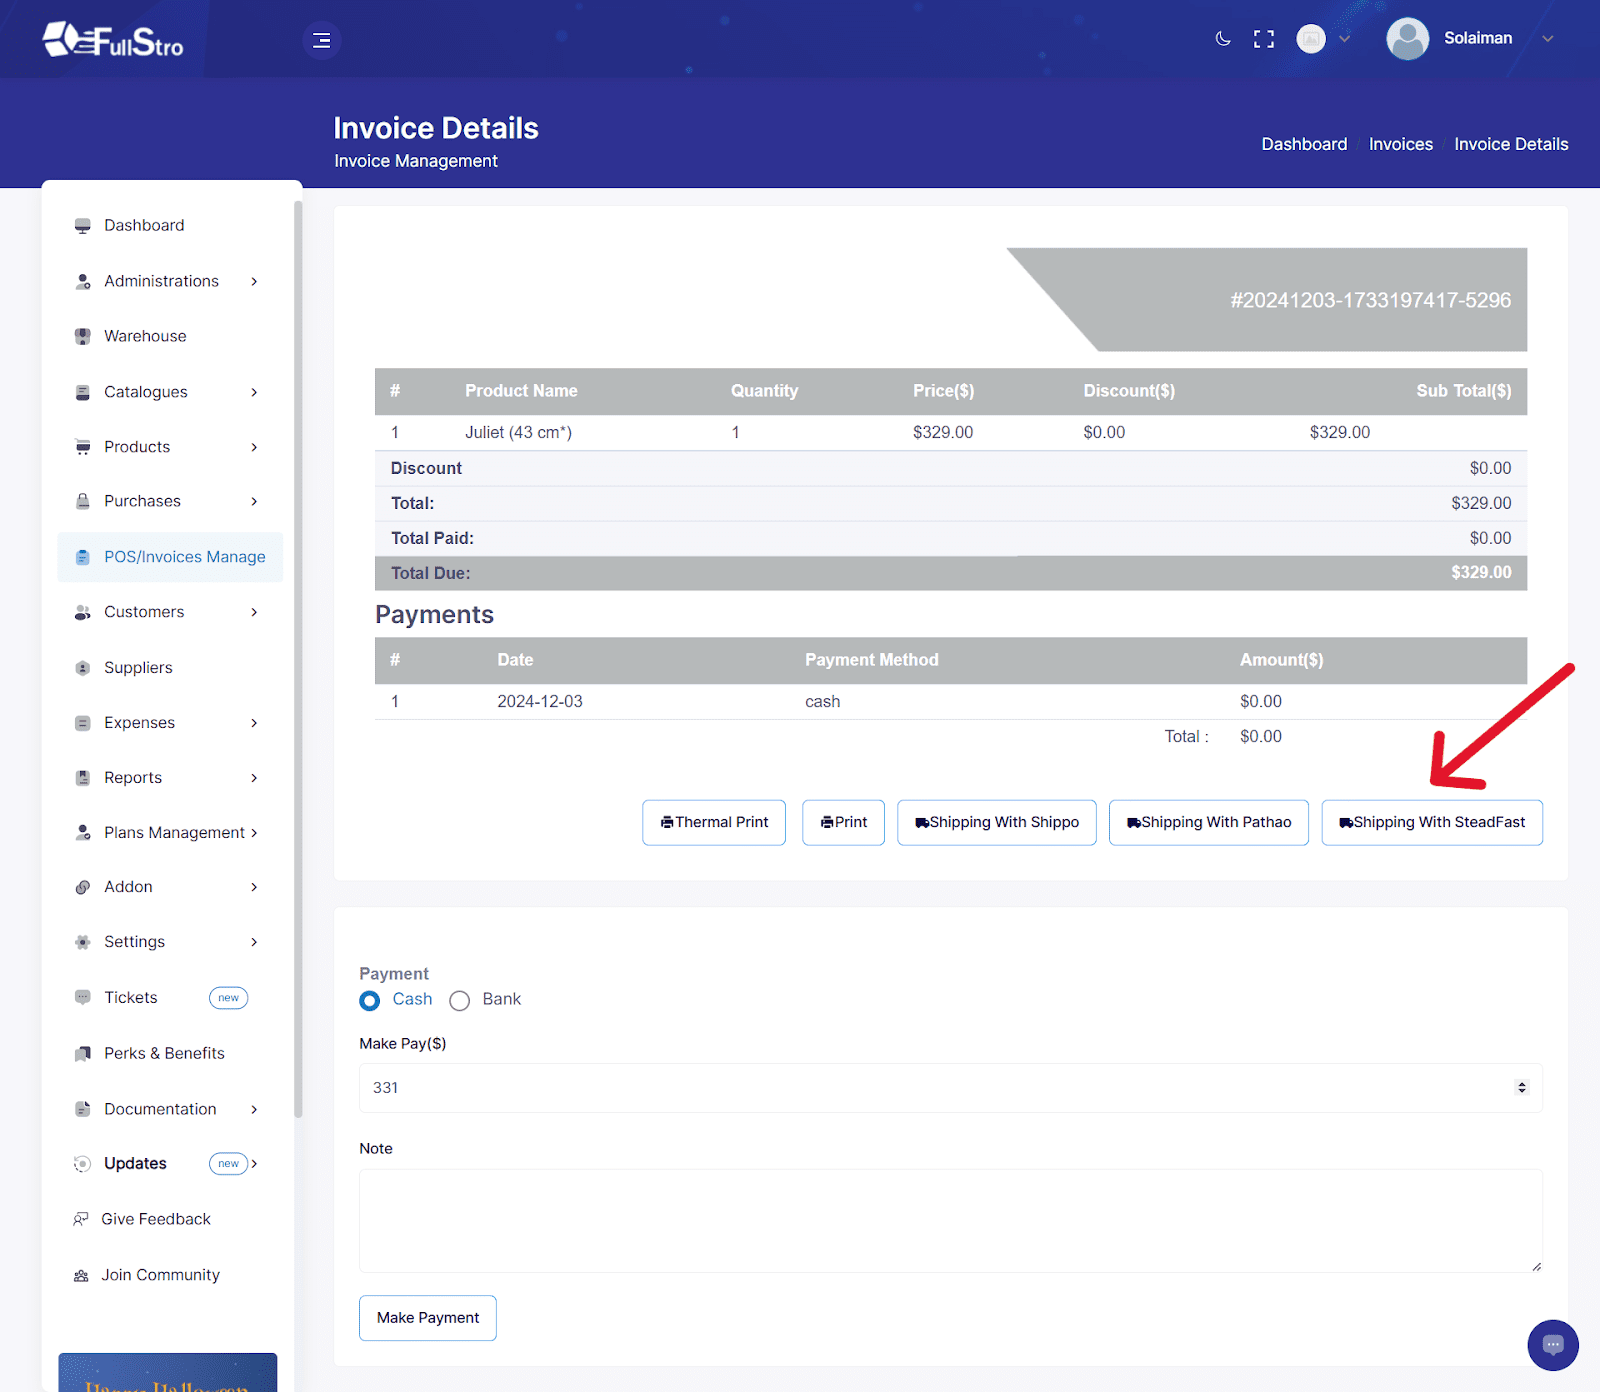
7. Steadfast is fully connected with your FullStro account. Go to your POS/invoice manage, you can see that the Steadfast is now available on your options. Click to proceed.
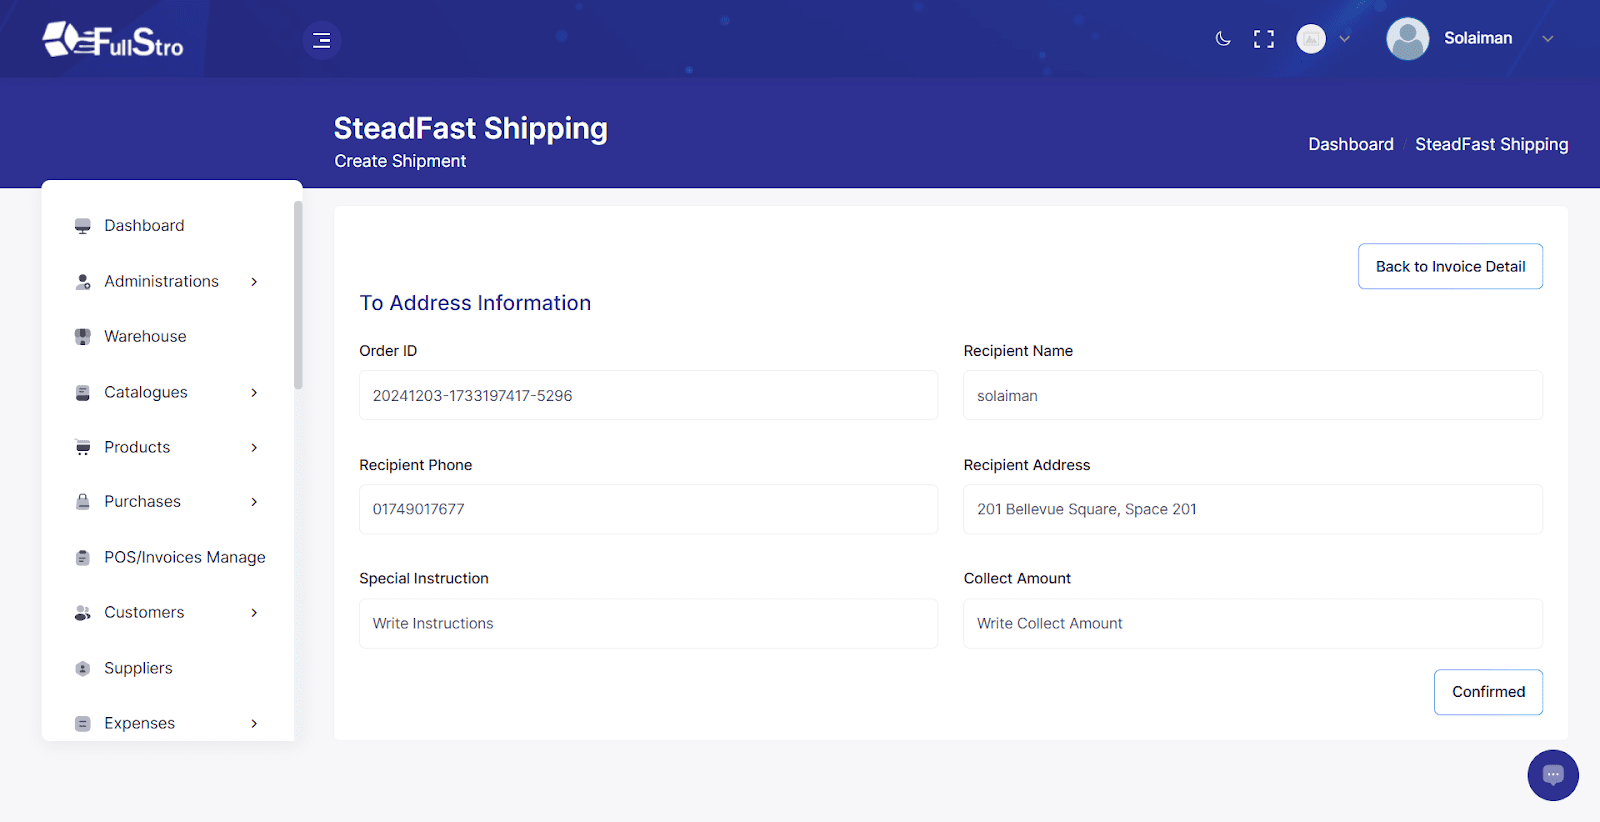
8. Now, put the required information and you can deliver your product through this feature with ease.
9. Plus, you can set tracking options for your clients through Steadfast.

You are all set to connect your Steadfast account with Fullstro. Now you can have hassle-free shipping for your clients with Steadfast anytime.