Integrating Daraz with FullStro is simple and powerful. Follow the steps below to connect your Daraz shop and start managing your products seamlessly.
Step 1: Start the Connection
- Log in to your FullStro account.
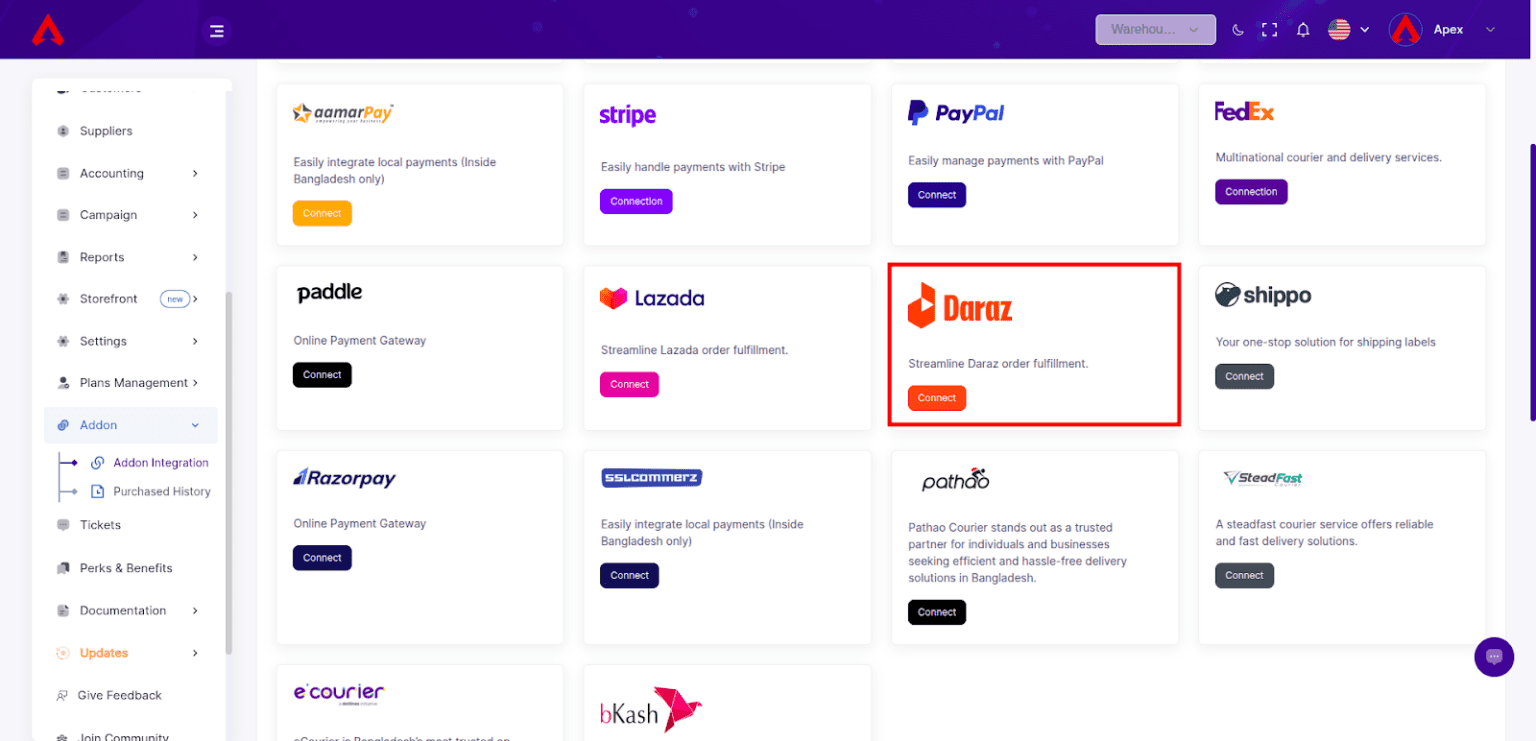
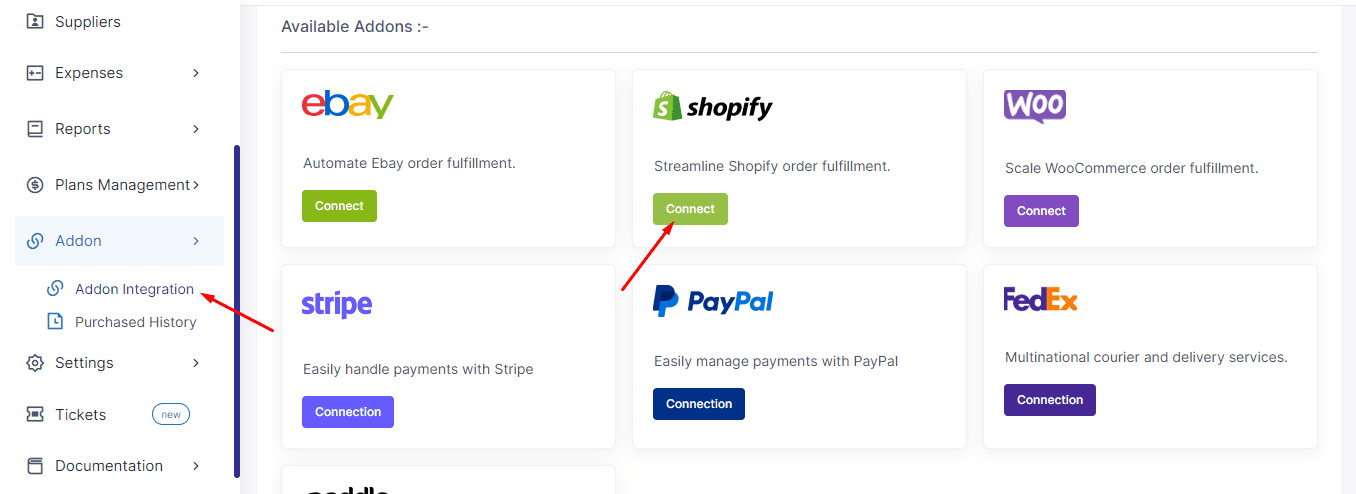
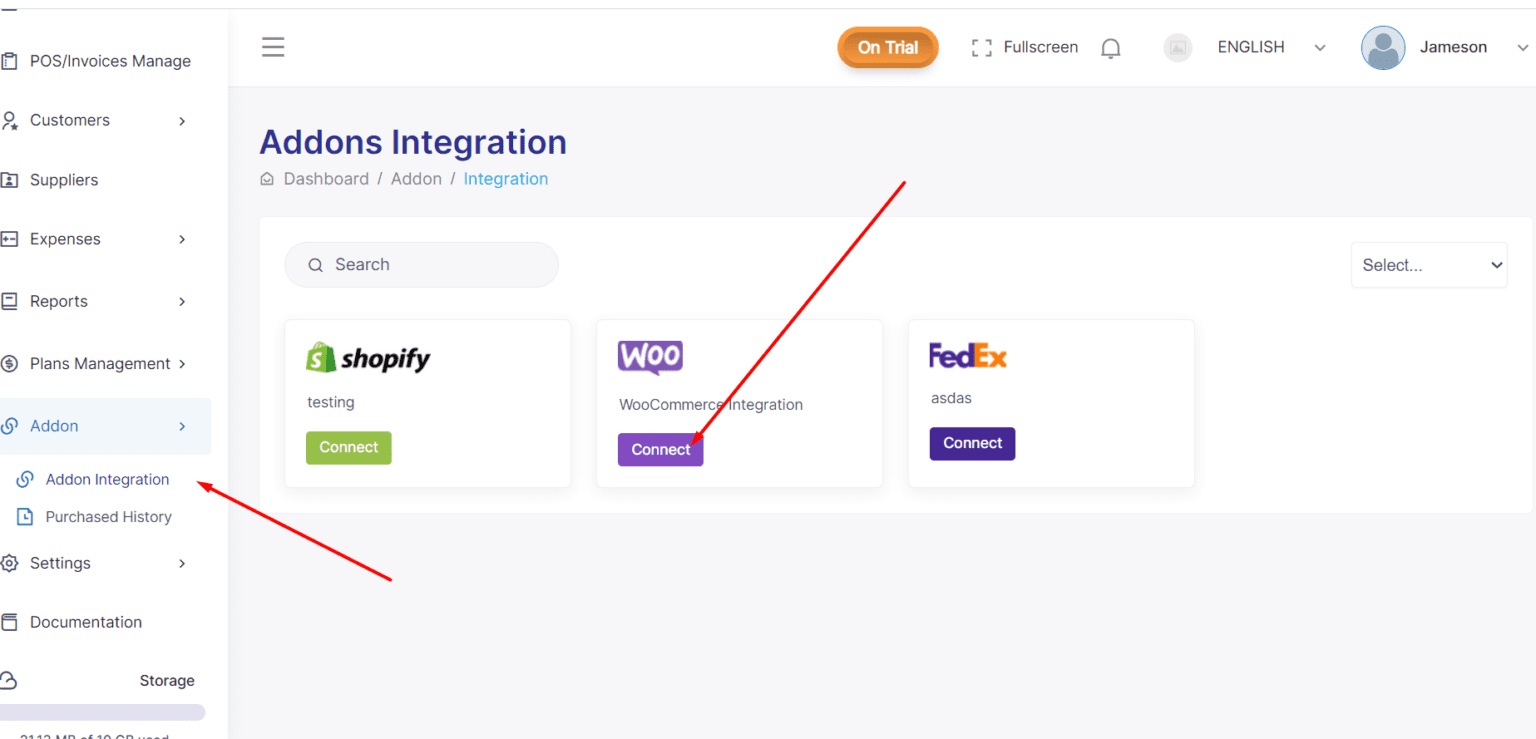
- Navigate to Addon > Addon Integration from the left panel.
On the Addon Integration Dashboard, find Daraz and click the “Connect” button.
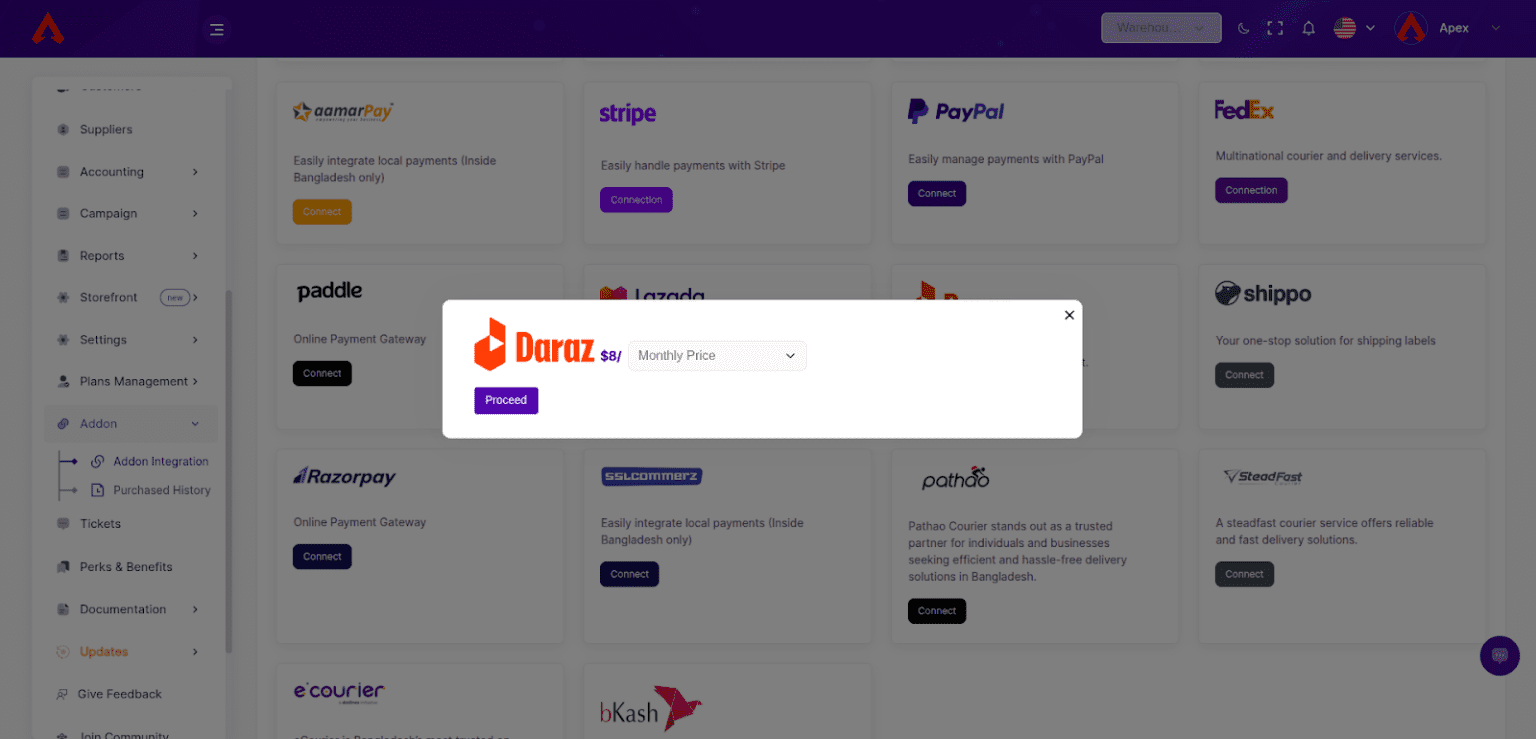
Step 2: Complete the Payment
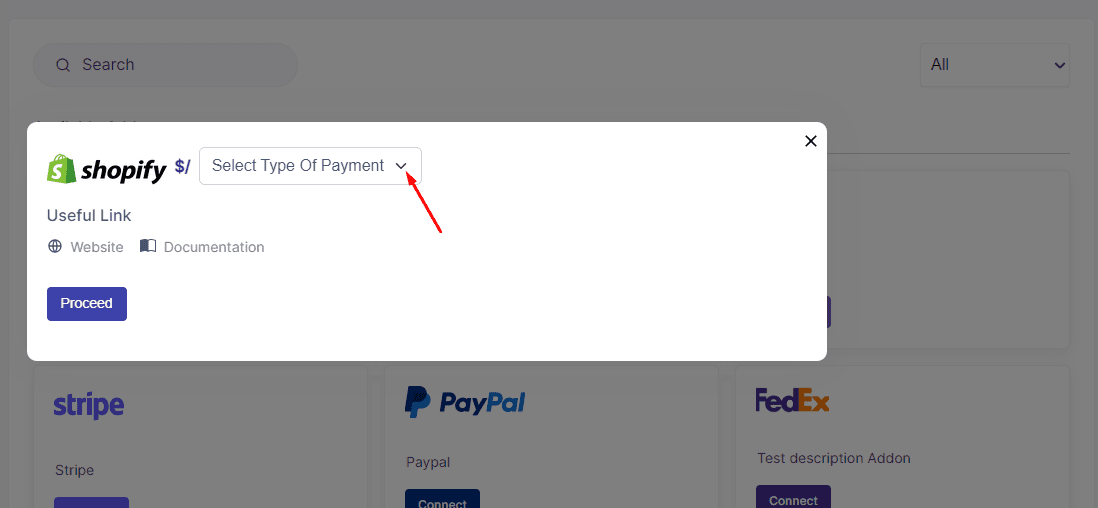
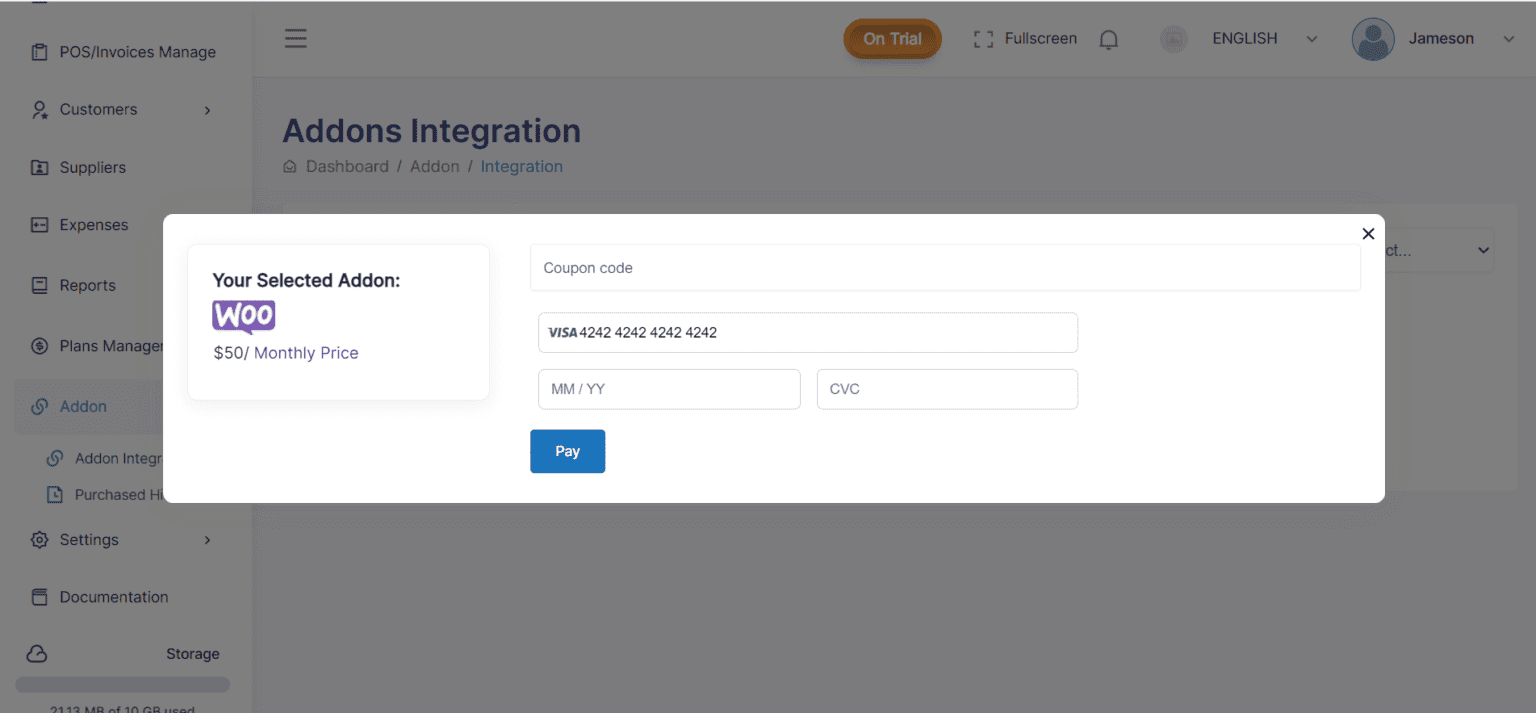
- A pop-up will appear prompting you for payment.
- Click “Proceed” to view the payment details.
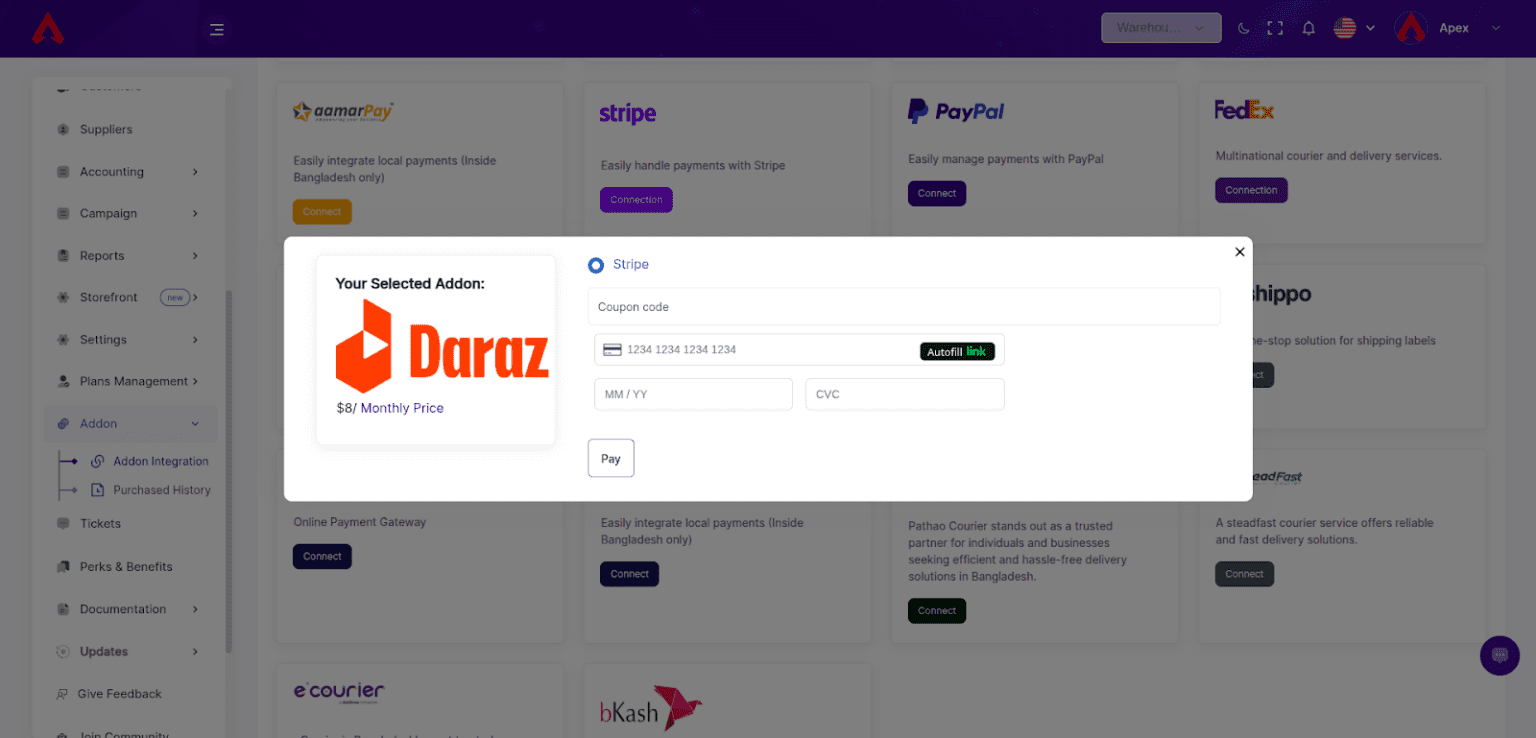
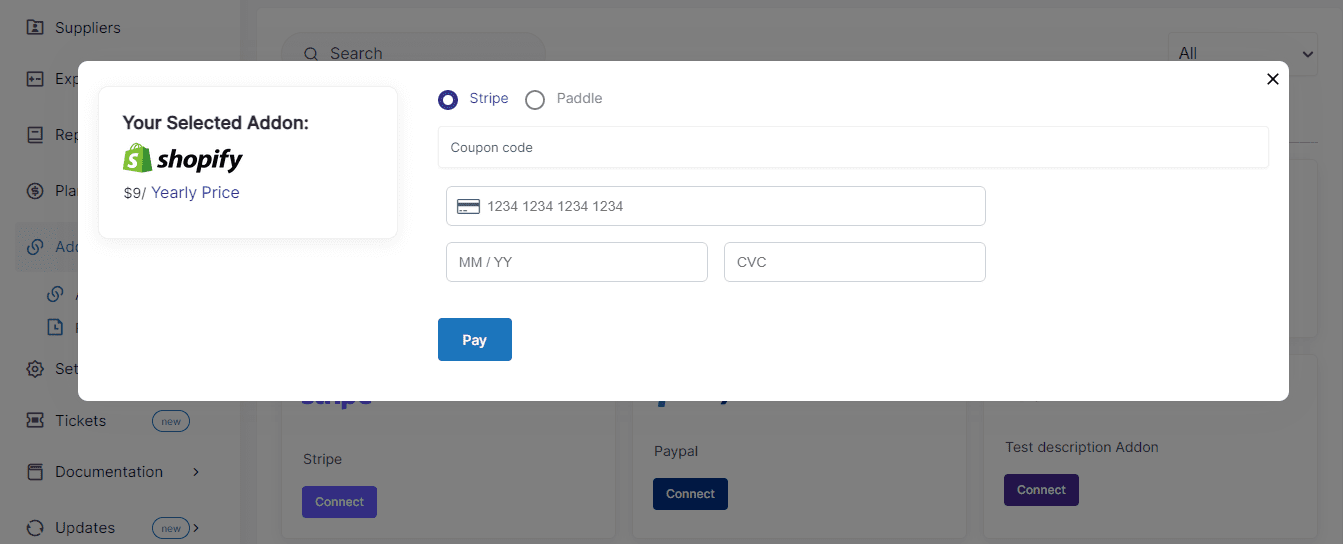
Enter your payment information in the next pop-up to complete the purchase for the Daraz Addon.
After clicking on the “Connect” button, you will be asked to provide your Shop Name, Shop URL, and access token.
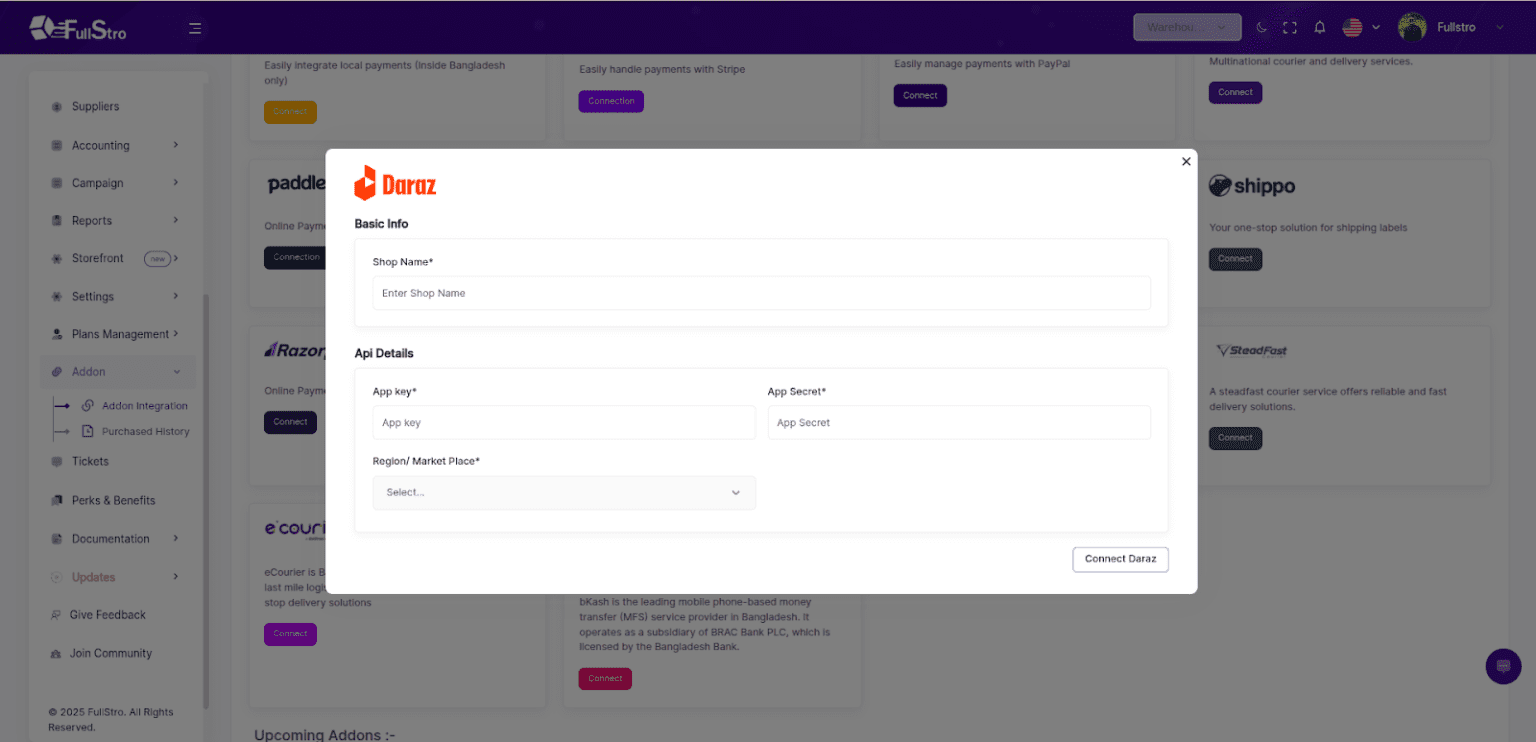
3: Provide Shop Credentials
After the payment, you will be asked to provide the following:
Shop Name
Shop URL
Access Token
Note: To generate your credentials, follow the official Daraz API documentation:
Daraz Open Platform Docs
4: Sync Required Data
After connecting your shop, you must sync the following:
Brands
Categories
This ensures that your product listings are consistent and structured properly.
Step 5: Manage Daraz Products
Once syncing is completed, you can:
Create new products on Daraz
Sync existing products from FullStro
Manage stock levels
Perform other product-related operations as needed
You’re all set! Daraz is now integrated with FullStro—manage your online sales efficiently and effortlessly.
Integrating Shopify with FullStro is very easy. Follow the steps below:
1. To connect Shopify, please move over to the addon integrations module and press “Connect” on Shopify.
2. Once clicked, you should be prompted to make the payment and subscribe to the addon.
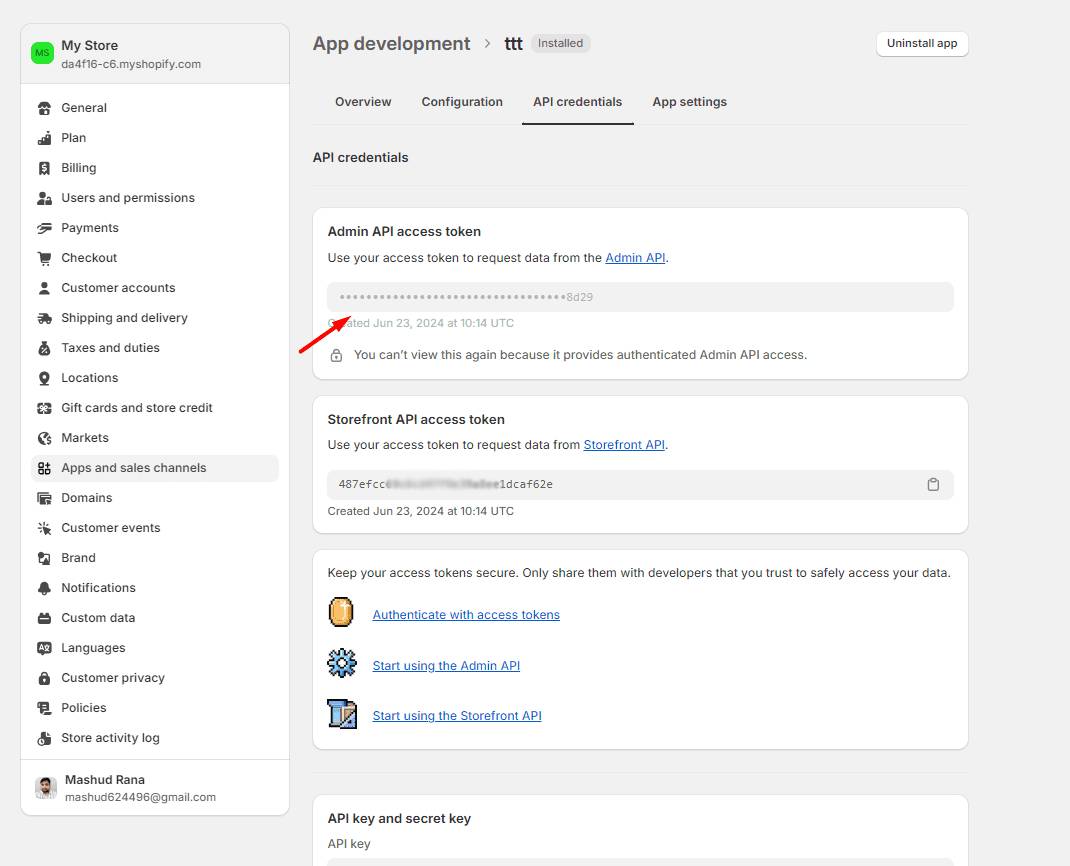
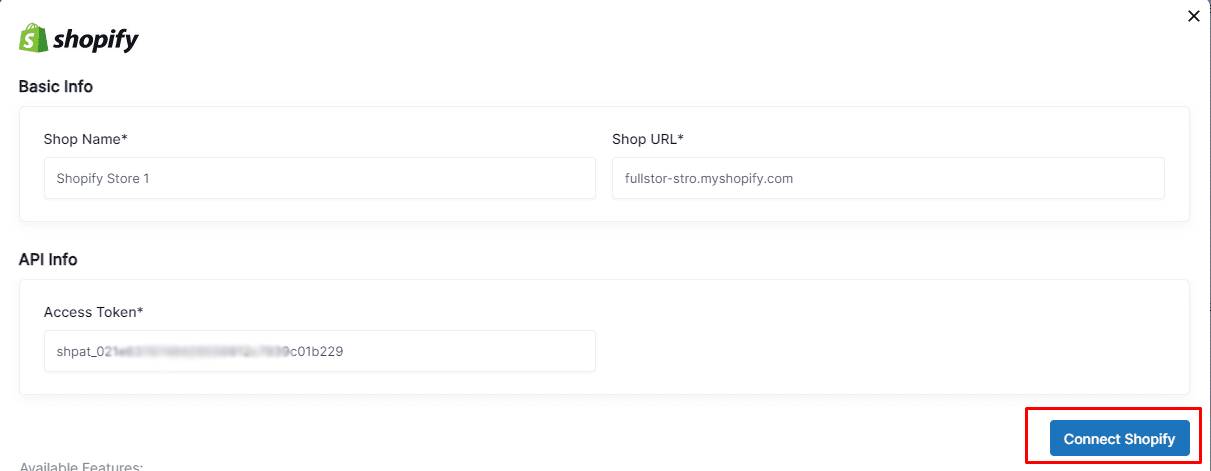
3. After clicking on the “Connect” button, you will be asked to provide your Shop Name, Shop URL, access token.

4. Now, go to your shopify online store – Manage app – Apps & sales channels – develops app – Create an app – add name to your shopify shop & create – API credentials – enable every field to enable API access – click on the install button – get the API ADMIN ACCESS KEY
5. Now head back to your FullStro dashboard and add the required credentials to connect your store and start controlling your store from within FullStro. Once done, please press “Connect Shopify”
6. Now your Shopify store is connected to FullStro and you will be able to upload products, view orders and control your Shopify store from FullStro.
1. To connect WooCommerce, please move over to the addon integrations module and press “Connect” on WooCommerce.
2. Once clicked, you should be prompted to make the payment and subscribe to the addon.

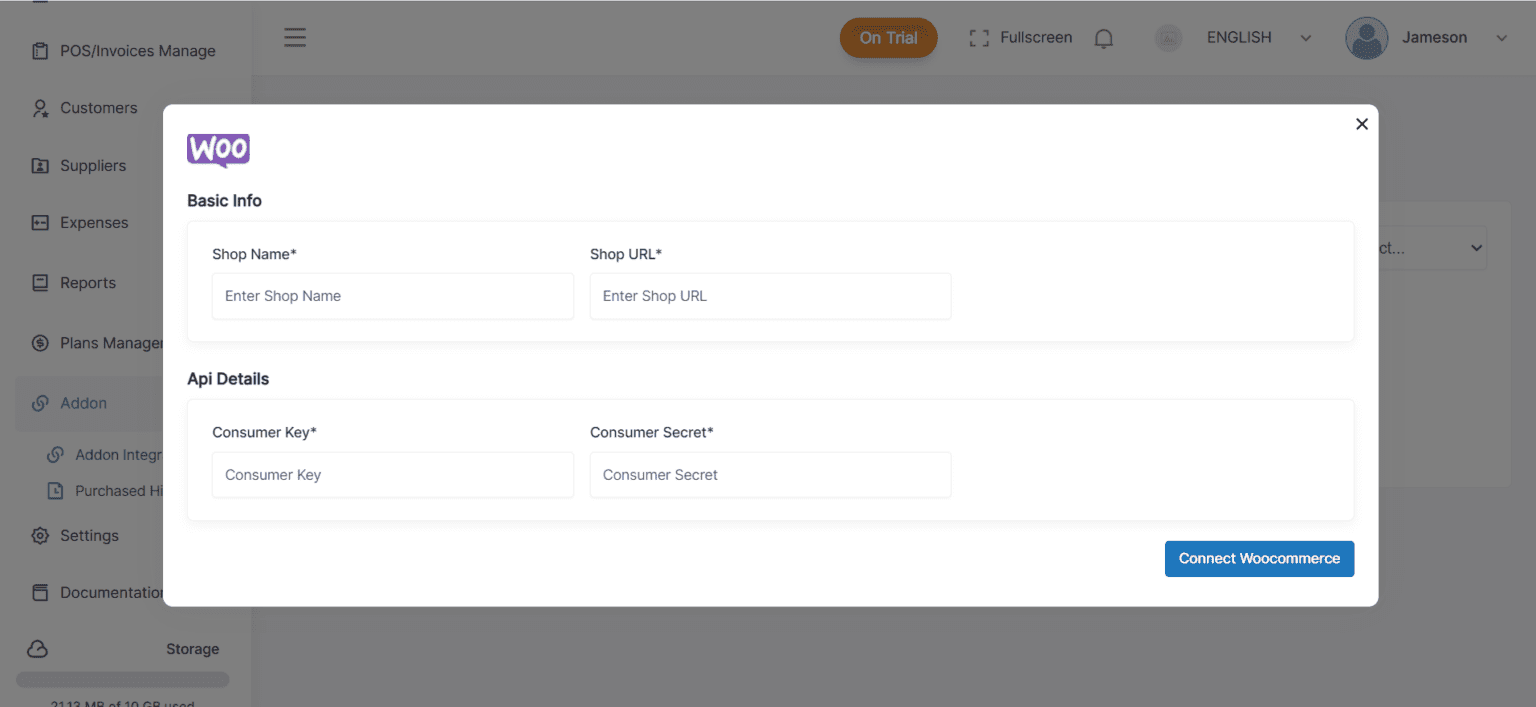
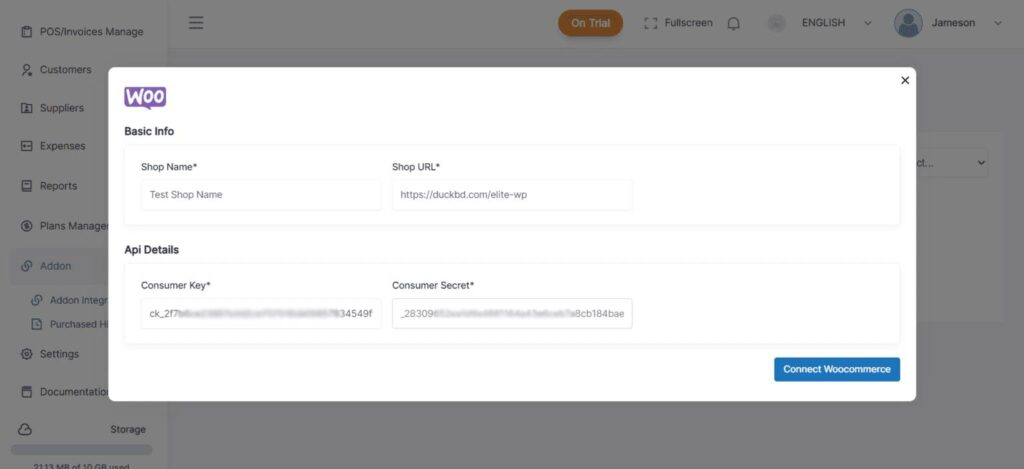
3. After you have made the payment, you will be asked to provide your Shop Name, Shop URL, Consumer Key and Consumer Secret.
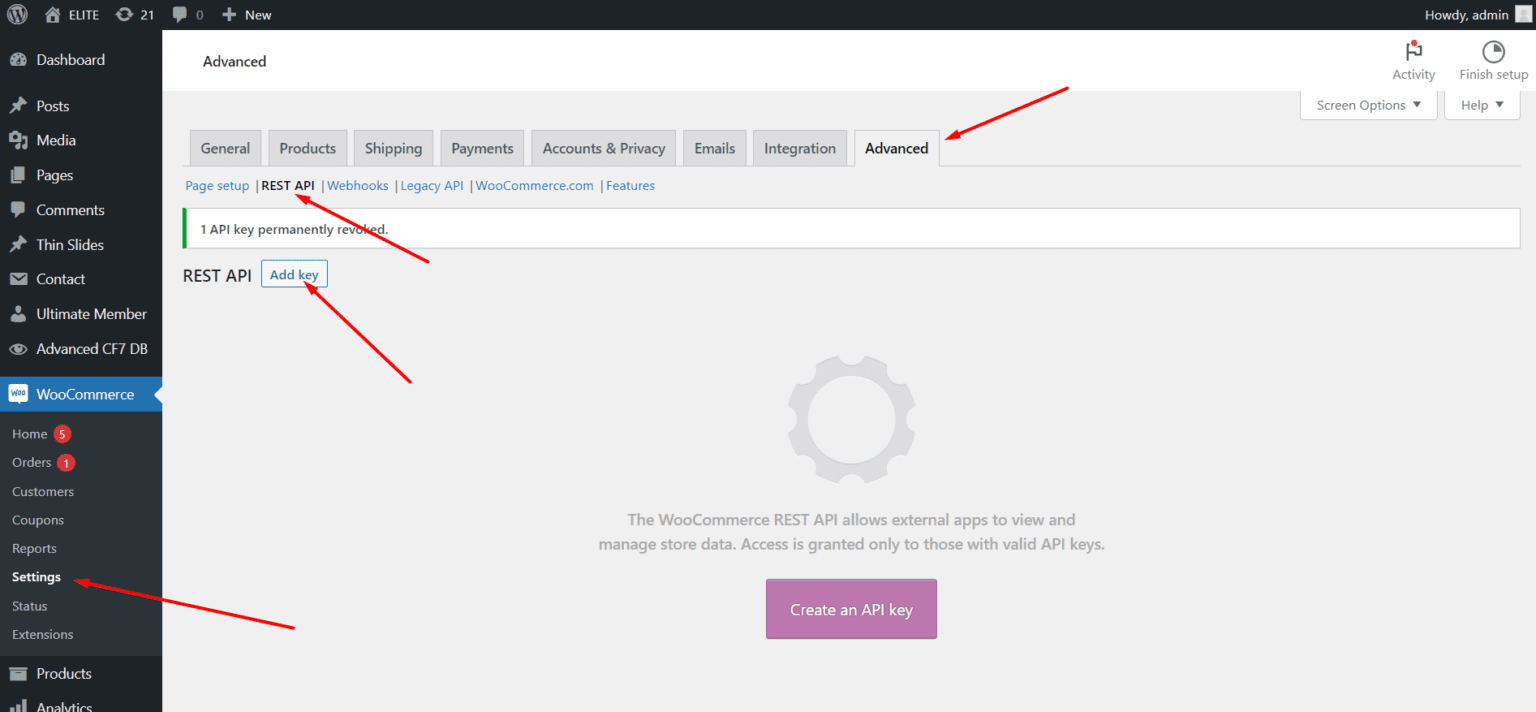
4. To get your API keys from your WordPress website, you will need to login to your WordPress website dashboard and head over to WooCommerce > Settings. Once you are here, please navigate to the tab labeled “Advanced” and from there go to the tab named “REST API” and press “Add Key” or “Create and API Key”
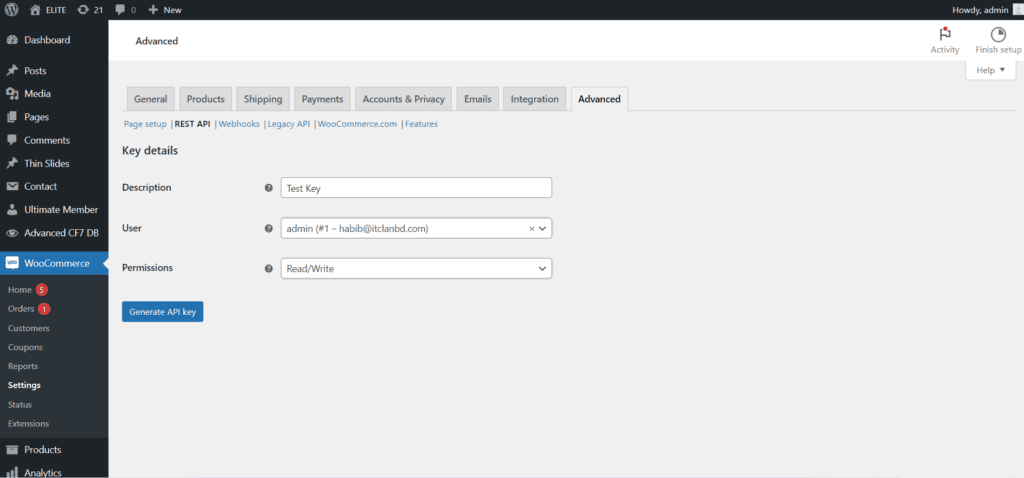
5. Fill up the details and make sure to give permission to “Read/Write” in the permissions field and hit “Generate API Key”
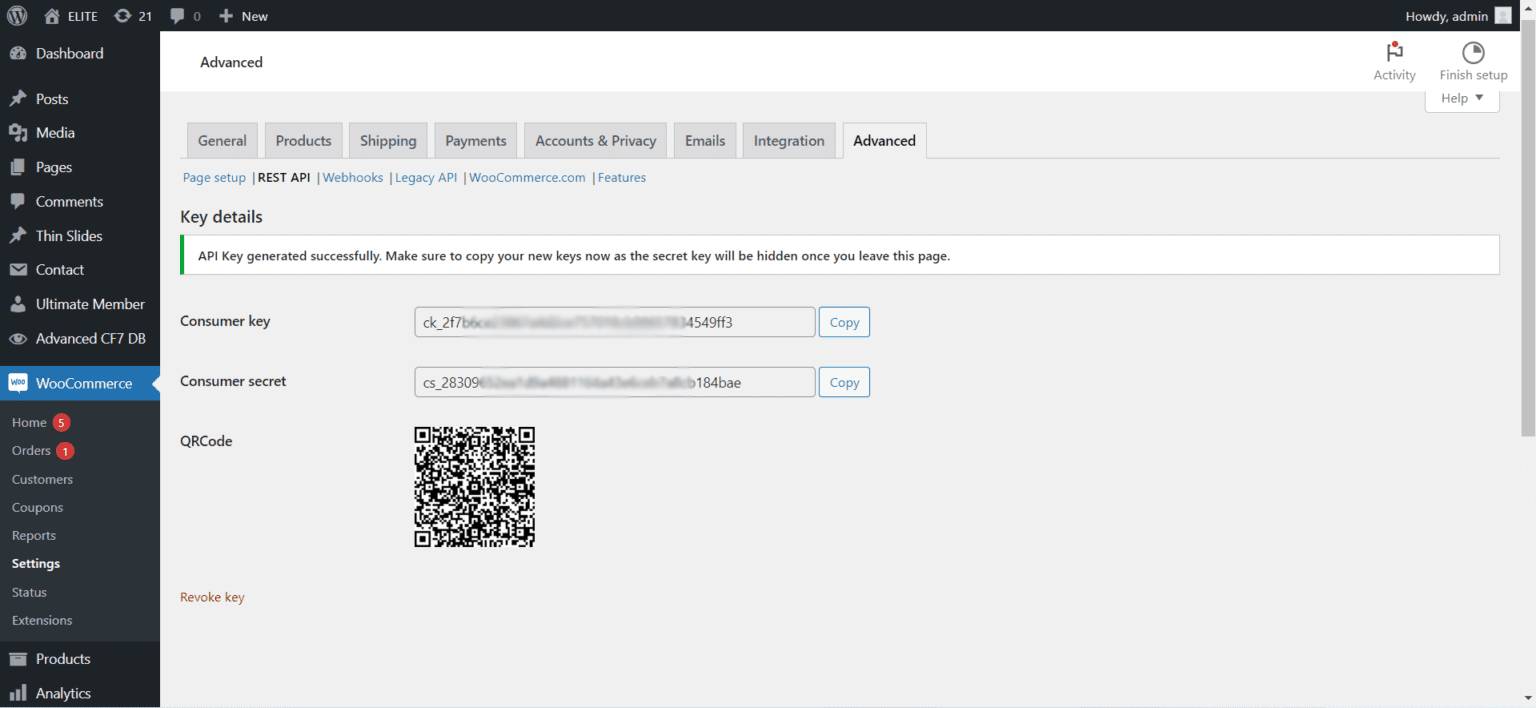
6. Once done, WooCommerce will provide you the required credentials to add to in your FullStro dashboard
7. Now head back to your FullStro dashboard and add the required credentials to connect your store and start controlling your store from within FullStro. Once done, please press “Connect WooCommerce”
8. Now your WooCommerce store is connected to FullStro and you will be able to upload products, view orders and control your WordPress website from FullStro.